A home-cook friendly guide to air frying like a pro: temperature ranges, oil misting tips, and breading tricks for crunchy, low-oil results.
Article
Updated September 29, 2026
Crispy Baked Chicken Wings That Stay Crunchy

Maya Chen
Maya Chen is a passionate home cook, recipe developer, and mother of two who believes that great food doesn't have to be complicated. Drawing from her multicultural upbringing and time spent in professional test kitchens, she creates approachable, flavor-packed recipes designed for real life.
Sizzlea
recipes
If you have ever pulled a tray of wings from the oven and thought, “Why do these feel… damp?” you are not alone. The secret to crispy baked chicken wings is not luck. It is moisture control, the right heat, and one very specific finishing step that locks in crunch.
I make these on weeknights, for game days, and honestly any time my kids ask for “the crunchy ones.” No deep frying. No fancy gear. Just a sheet pan, a rack, and a couple of small moves that make a huge difference.
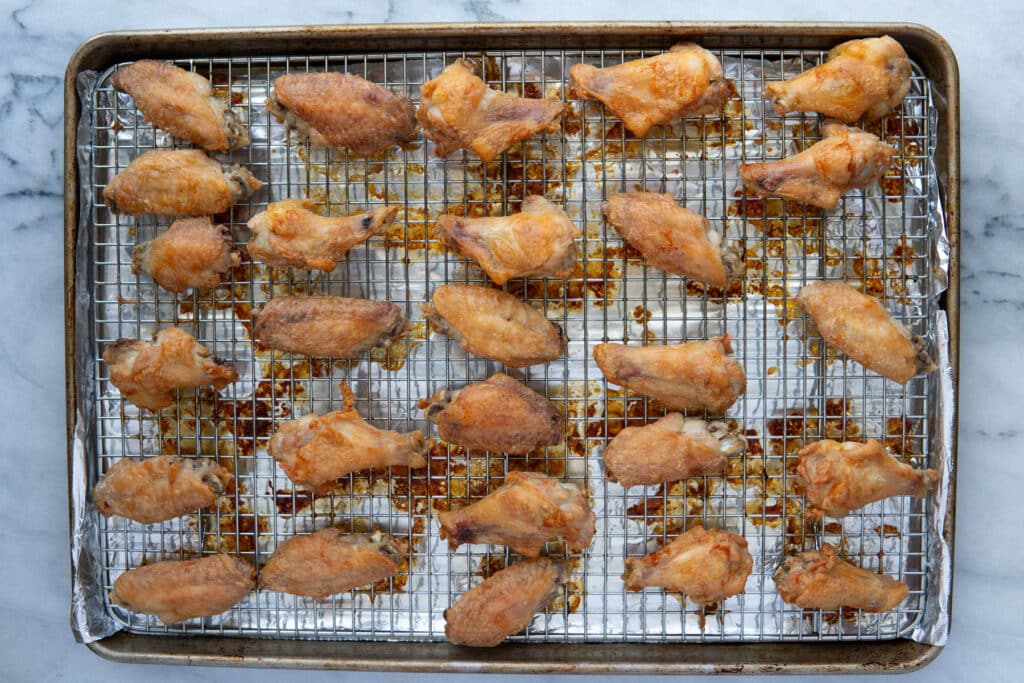
Why oven wings go soggy
Chicken wing skin turns crisp when fat renders and moisture evaporates. In the oven, sogginess usually comes from one of these:
- Wet skin: wings were not dried well, or they sat in a marinade.
- Crowding: wings steam each other instead of roasting.
- No airflow: wings baked directly on the pan, so the bottoms sit in hot juices.
- Sauce too early: sauce is mostly water and sugar, which softens skin fast.
The method below solves all four, and it is beginner-friendly.
The crispiness formula
- Dry thoroughly and salt early if you can.
- Use a little baking powder in the seasoning to help the skin blister and brown.
- Elevate on a rack for airflow and even crisping.
- Bake hot, then finish with a short broil to set the skin.
- Sauce after, or serve sauce on the side for max crunch.
Crispy baked chicken wings recipe
Makes: about 2 pounds wings (4 servings as a snack, 2 to 3 as a meal)
Time: 10 minutes prep, 40 to 50 minutes cook time (plus optional chilling time)
Ingredients
- 2 pounds chicken wings, split into drumettes and flats (or whole wings, tips removed)
- 1 1/2 teaspoons kosher salt (use 1 teaspoon if using fine salt)
- 1 teaspoon aluminum-free baking powder (not baking soda)
- 1 to 2 teaspoons garlic powder (optional)
- 1 teaspoon smoked paprika (optional)
- 1/2 teaspoon black pepper
- Neutral oil spray (optional, helps browning if your wings are very lean)
Equipment
- Rimmed sheet pan
- Wire rack that fits inside the pan
- Paper towels
- Large bowl
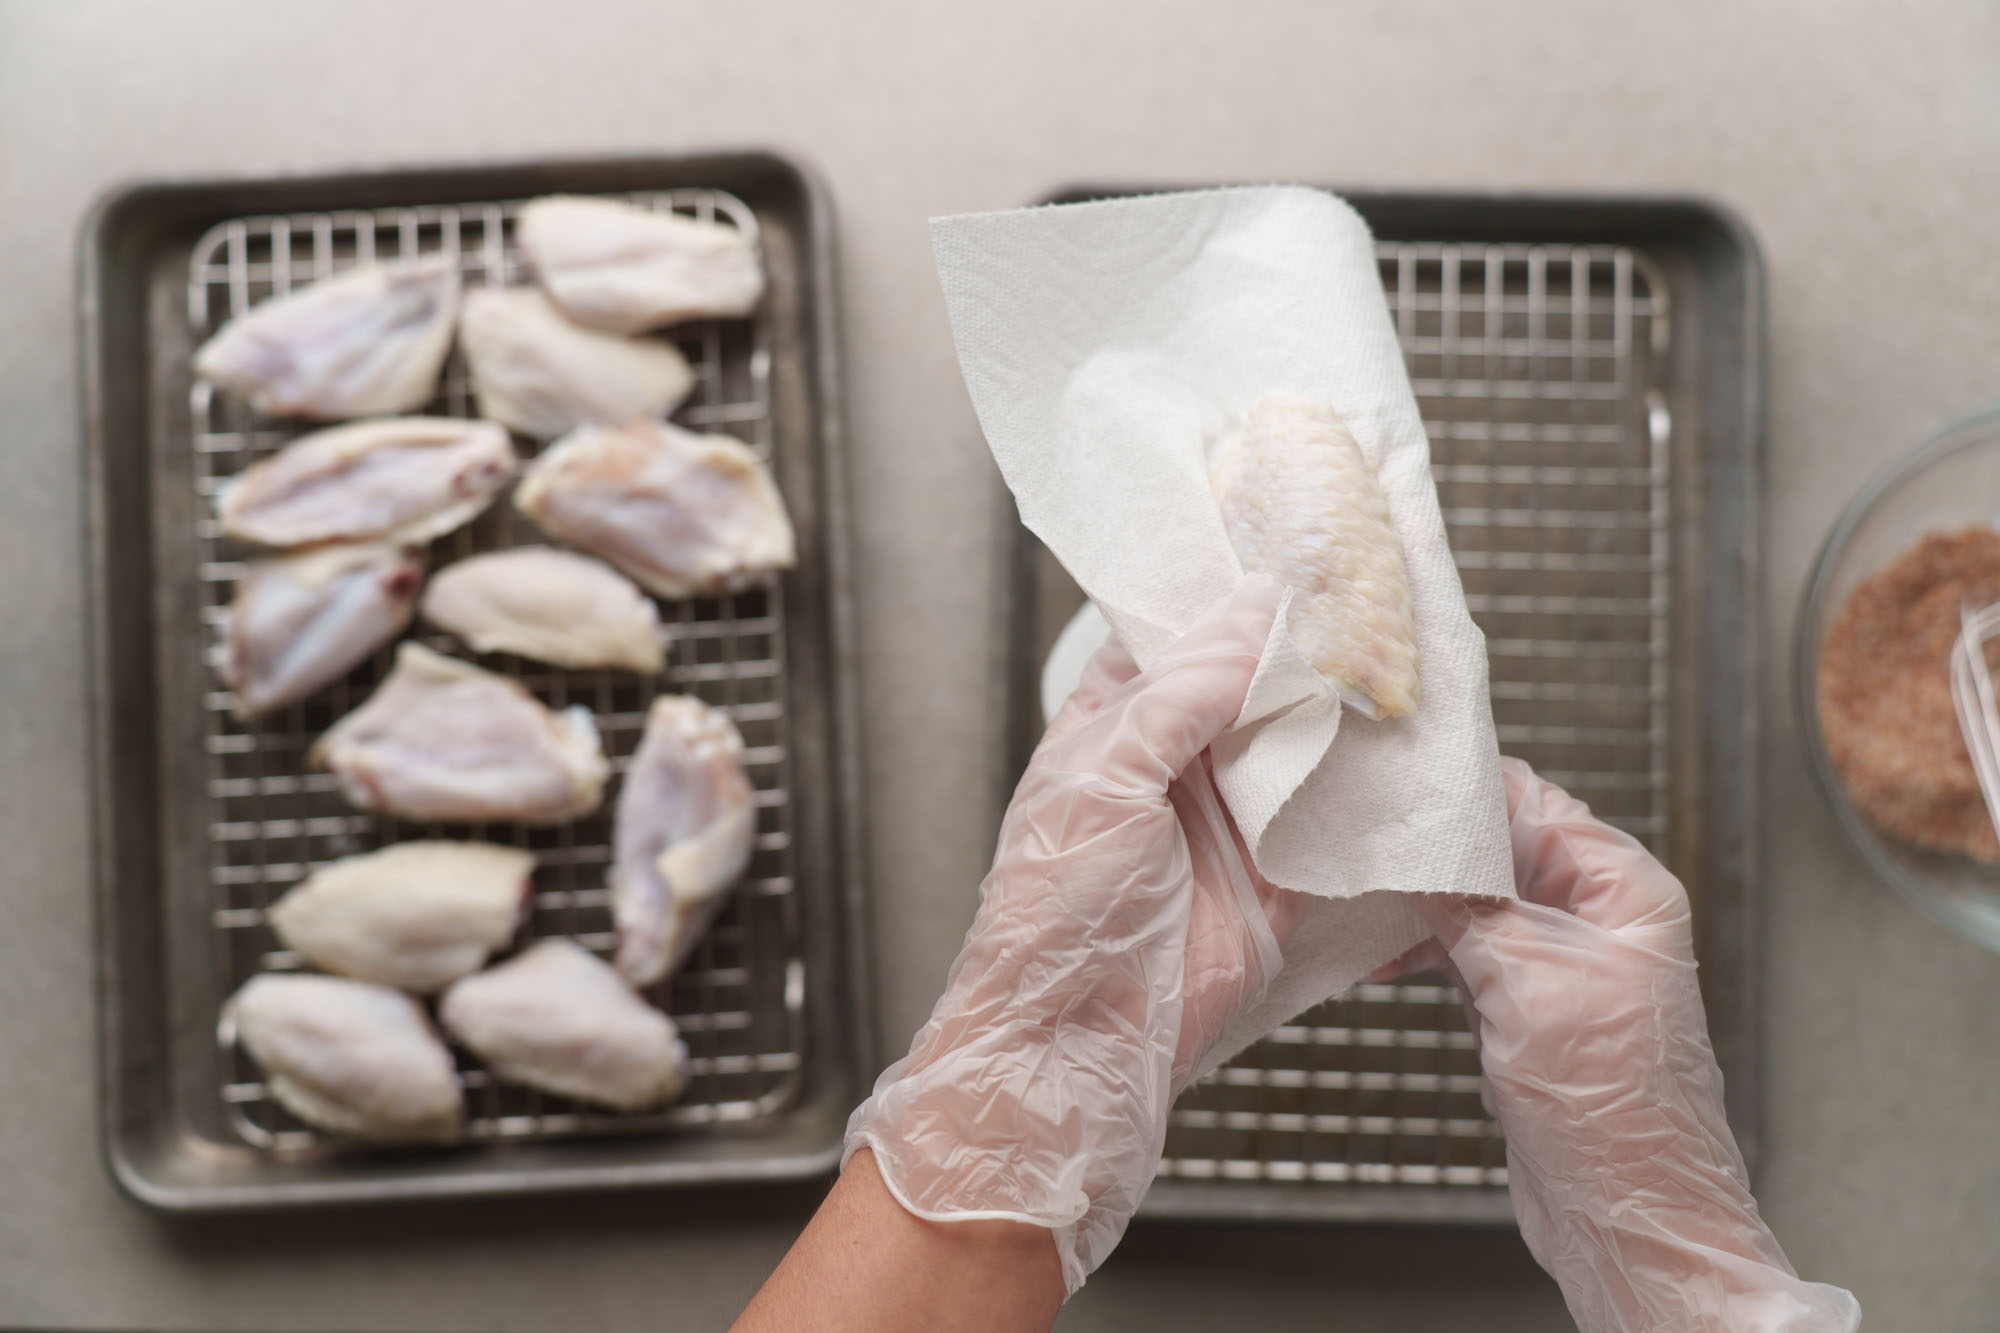
Step 1: Dry the wings
Pat wings very dry with paper towels. Flip them and dry again. This is the unglamorous step that makes the difference.
Step 2: (Best option) Dry brine
If you have time, toss wings with the salt and place them on the rack over the sheet pan. Refrigerate uncovered for 8 to 24 hours. The skin dries out and the salt seasons the wings more deeply and evenly.
When you are ready to bake, proceed to Step 3. You will still toss the wings with baking powder and spices in Step 4, but you typically do not need extra salt.
No time? You can still proceed right away. Just make sure the wings are really dry, and add the salt in Step 4.
Step 3: Preheat and set up the pan
Heat oven to 450°F. Position a rack in the middle of the oven. Place a wire rack inside a rimmed sheet pan. If you want easier cleanup, line the pan with foil under the rack.
Step 4: Season for crackly skin
In a large bowl, mix baking powder, salt (if you did not dry brine), pepper, and any optional spices (like garlic powder and smoked paprika). Add wings and toss until evenly coated. The coating should look light and powdery, not paste-like.
Why baking powder works: baking powder contains baking soda, and it can gently shift surface chemistry while creating tiny bubbles as the skin heats. The result is better browning and a blistery, crisp finish, without frying.
Step 5: Arrange with breathing room
Set wings on the rack in a single layer with a little space between pieces. Crowding is the enemy of crunch.
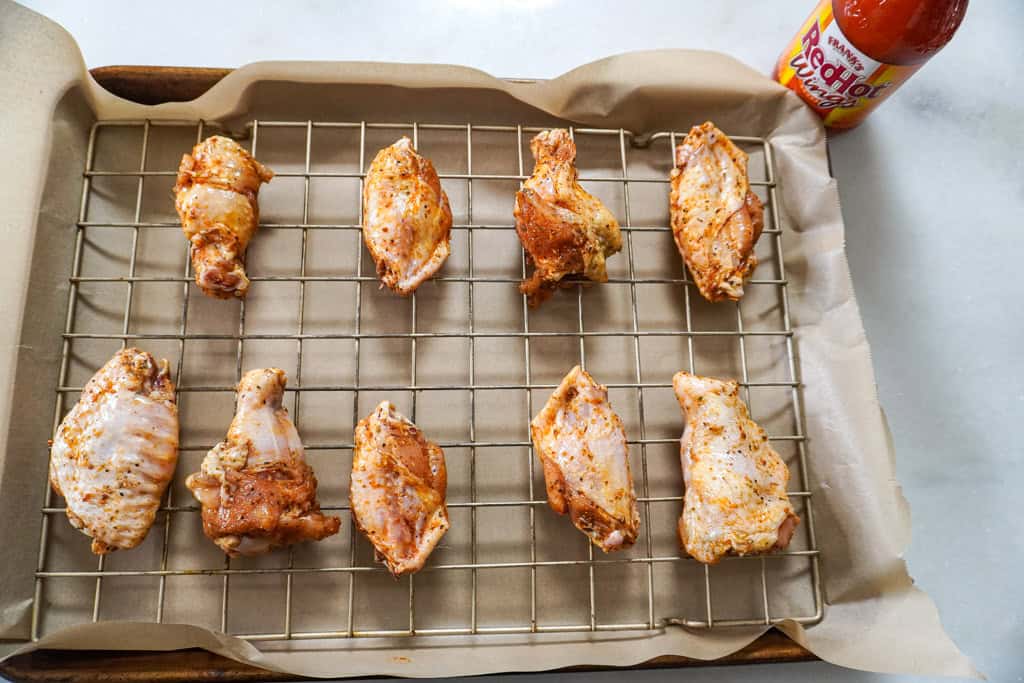
Step 6: Bake, flip, then bake again
Bake for 20 minutes. Flip each wing. Bake another 20 to 25 minutes, until the skin is deeply golden and crisp.
Temperature check: wings are safe at 165°F, but many people prefer the texture closer to 175 to 185°F, when more connective tissue has softened.
Step 7: Broil to lock in crunch
Switch the oven to broil (high) and move the pan to an upper-middle rack position (not necessarily the very top, depending on your broiler). Broil wings for 1 to 3 minutes per side, watching closely, until the skin looks blistered and audibly crisp when you tap it with tongs.
Let wings rest 5 minutes on the rack. This short rest helps the surface dry and stay crisp.
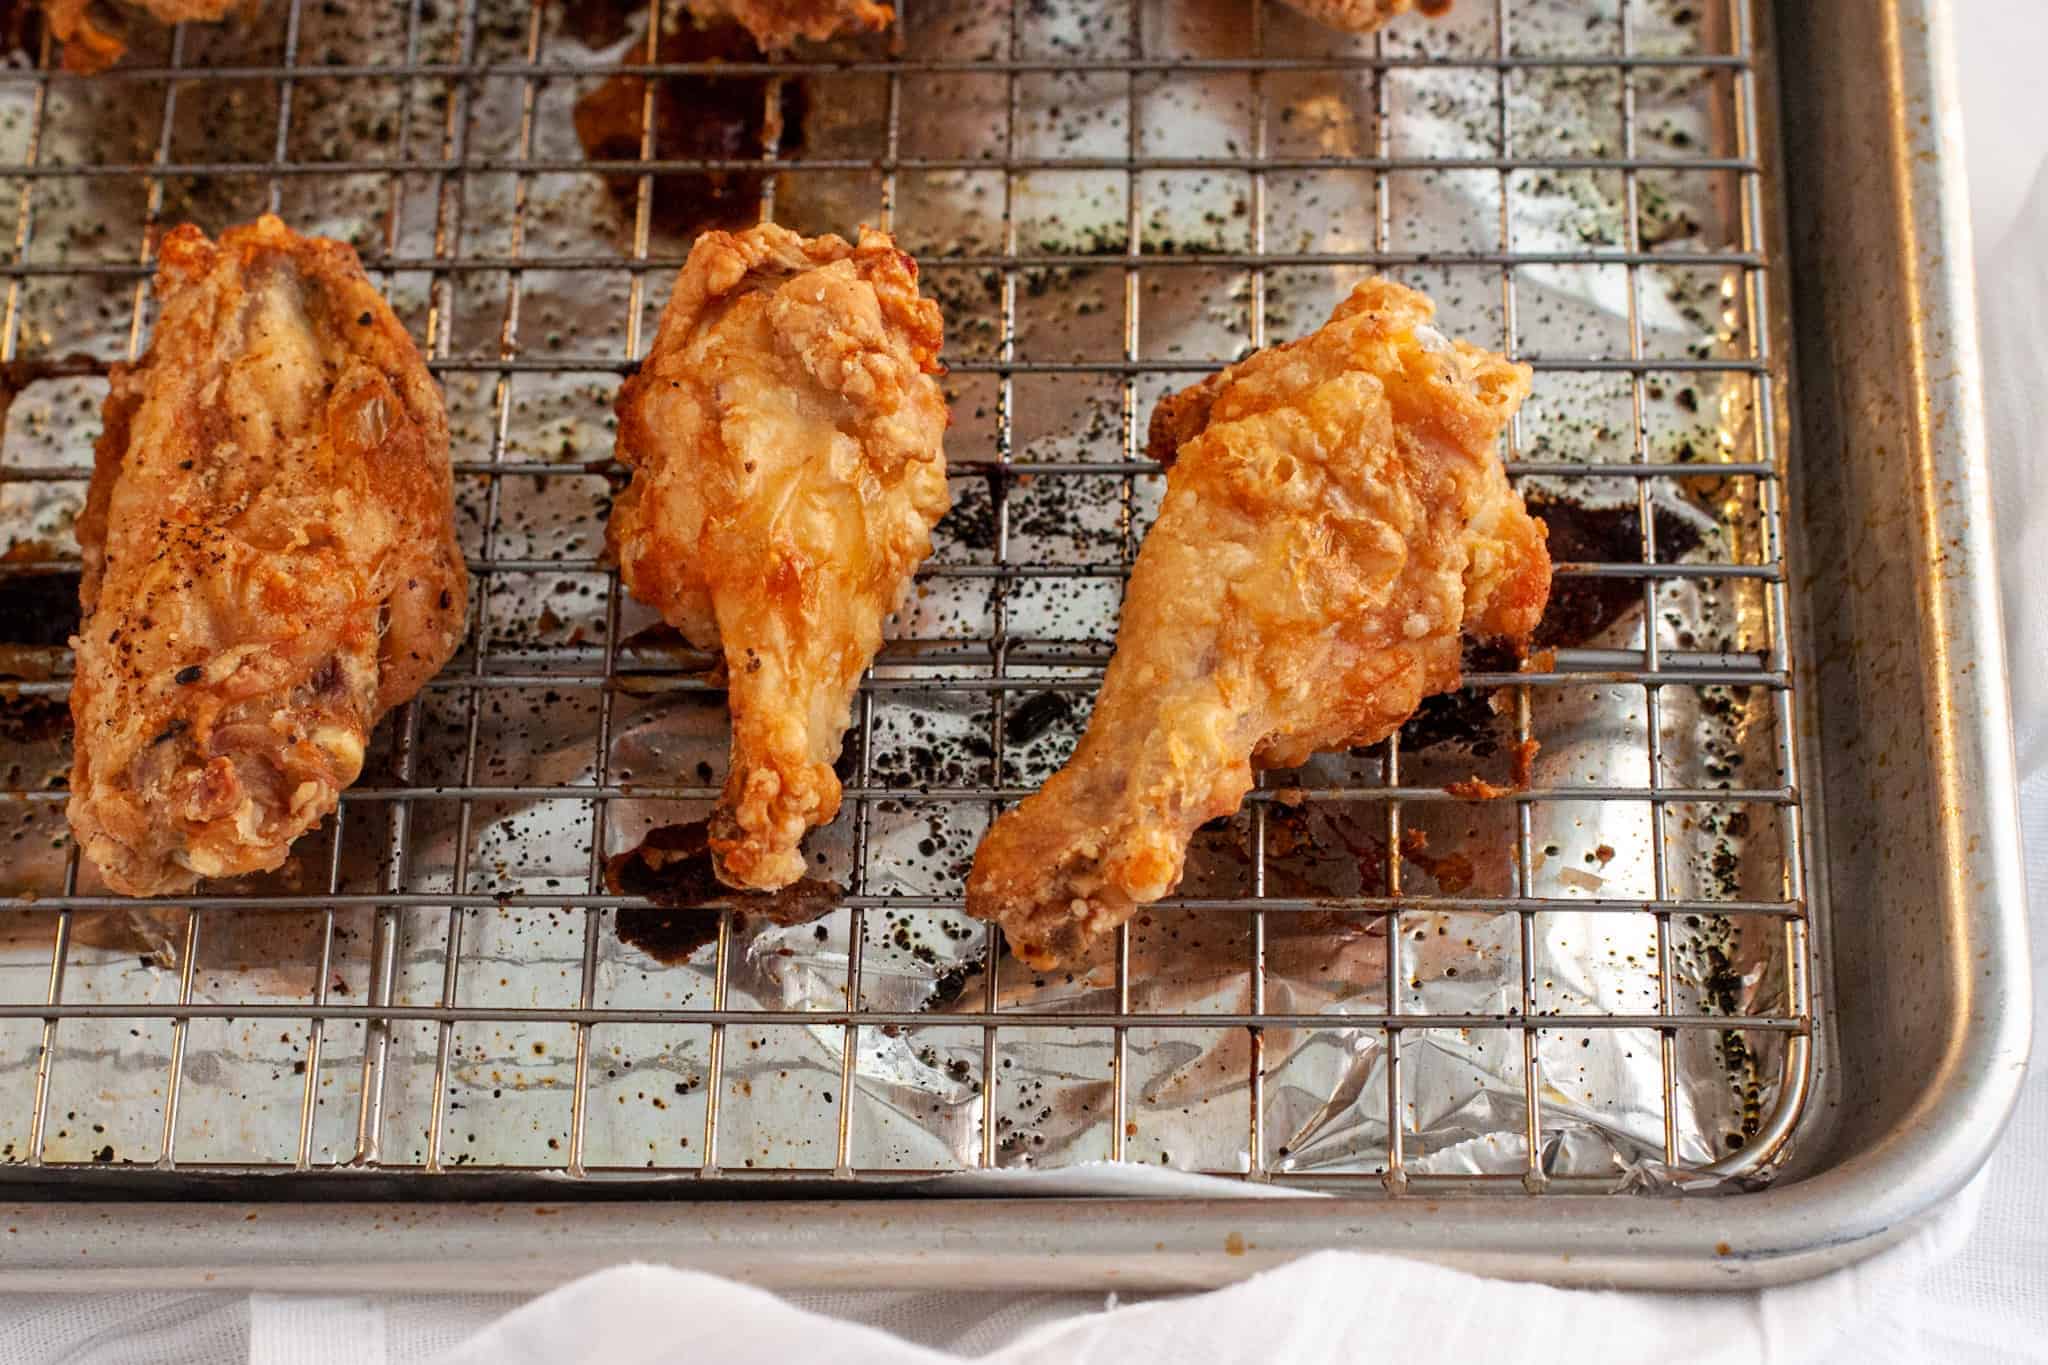
Serve
Serve immediately. If saucing, see the sauce timing section below so you keep that crunch.
Seasoning options
Start with the base seasoning, then go in one direction. These are dry seasonings meant to keep the surface dry and crisp.
1) Garlic pepper
- Add 2 teaspoons garlic powder
- Add 1 teaspoon onion powder
- Extra black pepper to taste
2) Smoky BBQ-style (dry)
- Add 2 teaspoons smoked paprika
- Add 1 teaspoon chili powder
- Add 1 teaspoon brown sugar (optional, browns faster so watch closely at the end)
3) Lemon pepper
- Add 1 to 2 teaspoons lemon pepper seasoning
- Add 1/2 teaspoon garlic powder
- Finish with fresh lemon zest right before serving
4) Korean-inspired dry
- Add 1 teaspoon gochugaru (Korean chili flakes)
- Add 1/2 teaspoon ground ginger
- Add 1 teaspoon garlic powder
- Finish with toasted sesame seeds and sliced scallions
When to sauce wings
Sauce is where crisp wings go to get cozy. Delicious, but it will soften the skin. Here is how to choose:
Option A: Sauce on the side
Serve wings dry with a bowl of sauce for dipping. This keeps the skin crisp for the longest time.
Option B: Sauce right before serving
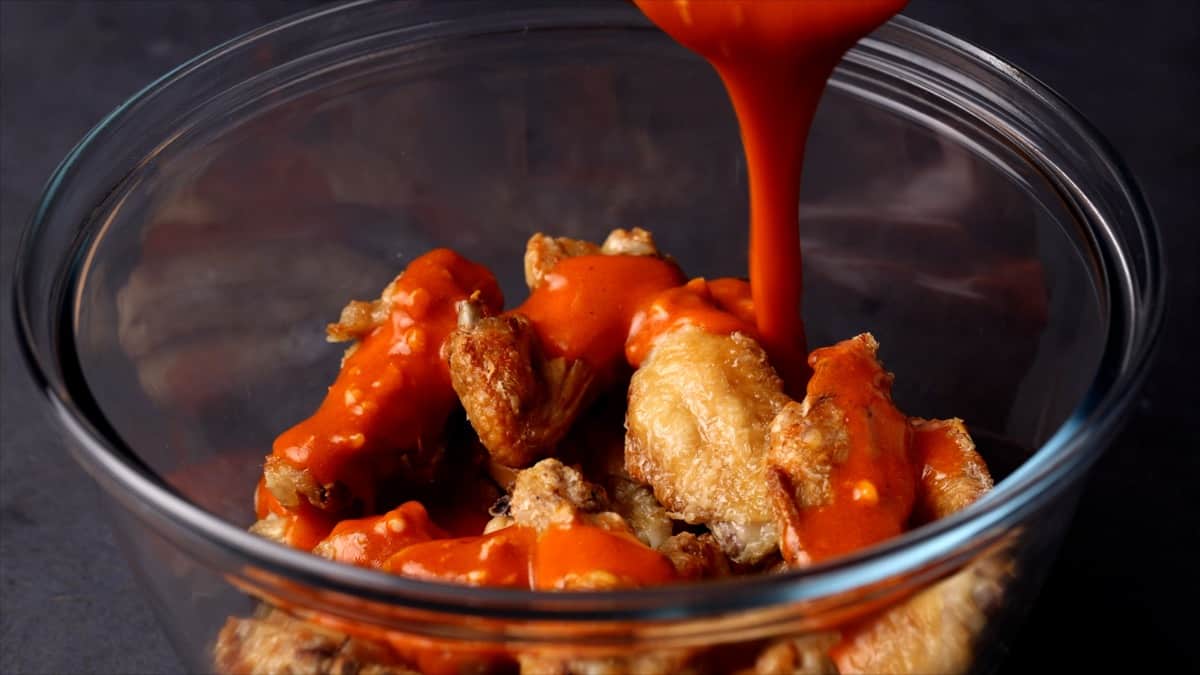
Toss wings with warm sauce at the very last second, then plate immediately. Do not sauce and let them sit on the pan.
Option C: Sticky glazed wings
Toss baked wings with sauce, return to the oven at 425°F for 5 to 8 minutes to set the glaze. This will not be as crunchy as dry wings, but it will be glossy, lacquered, and less watery.
Quick sauce ideas
- Easy buffalo: 1/2 cup hot sauce + 4 tablespoons melted butter
- Garlic parmesan: 4 tablespoons melted butter + 1/3 cup finely grated parmesan + lots of garlic powder
- Honey soy: 1/4 cup soy sauce + 2 tablespoons honey + 1 teaspoon rice vinegar (reduce briefly to thicken)
Troubleshooting
My wings are soggy
- They were too wet: Pat dry aggressively. Next time, dry brine uncovered in the fridge for a few hours or overnight.
- No rack: Use a wire rack so air circulates. If you do not have one, flip more often and pour off accumulated fat halfway through, but the rack truly helps.
- Crowded pan: Use two sheet pans if needed. If wings are touching, they will steam.
- Oven not hot enough: Preheat fully, and consider using an oven thermometer if your oven runs cool.
- Sauced too early: Sauce only at the end, or dip.
My wings are overcooked or dry
- Too much time at high heat: Pull when deeply golden. Broil should be brief, not a tanning session.
- Small wings cook faster: Start checking at the 35 to 40 minute mark total.
- Salted too far ahead with fine salt: Fine salt is stronger by volume. Use less, or switch to kosher salt.
My wings browned but are not crisp
- Too much sugar in the rub: Sugar browns quickly and can trick you into thinking they are done. Keep sugar minimal, and rely on broiling for the final crisp.
- Skipped baking powder: It is not mandatory, but it helps a lot for oven crisp.
My wings are sticking to the rack
- Grease the rack: A quick spray of oil helps.
- Do not move too early: Let them bake at least 15 to 20 minutes before flipping so the skin releases more easily.
My smoke alarm is yelling at me
- Rendered fat is smoking: Line the pan with foil for easier cleanup and add a thin layer of water to the bottom of the sheet pan (under the rack) to reduce smoking. Keep the water well below the rack so the wings still roast, not steam.
- Broil is intense: Broil on a lower rack position and watch constantly.
Make-ahead and reheating
Make ahead
You can bake wings fully, cool on the rack, then refrigerate uncovered (or loosely covered) up to 2 days.
Reheat for crisp
Reheat on a rack over a sheet pan at 425°F for 10 to 15 minutes until hot and crisp again. Avoid the microwave if crunch matters.
Keeping wings crunchy
Hold cooked wings on a rack in a 200°F oven for up to 45 minutes. Sauce at the last moment.
FAQ
Do I have to use baking powder?
No, but it makes crispier skin much more reliable. Use aluminum-free baking powder and keep the amount small so you do not taste it.
Can I bake wings without a wire rack?
Yes, but flip more often and expect slightly less crisp bottoms. If you bake directly on parchment, you will get decent browning, but the wings sit in rendered fat and juices, which softens the skin.
What is the best oven temperature for crispy wings?
450°F is my sweet spot for browning and rendering. If your oven runs hot, use 425°F and add a few minutes.
Why not baking soda?
Baking soda is stronger and easier to overdo. It can leave a noticeable flavor. Baking powder is gentler and more forgiving.
Should I rinse chicken wings?
No. Rinsing can spread bacteria around the sink, and it adds water back onto the surface. Pat dry instead.
Can I use convection?
Yes. Convection (or an air-fry setting) can boost browning and crisping. Start checking a few minutes early since wings can cook faster.
My best tip
If you do just one thing from this whole page, let it be this: dry brine the wings uncovered on a rack, even for a few hours. Your oven can do incredible things, but it cannot crisp wet skin. Give it a dry surface to work with and you are basically halfway to restaurant-level crunch.