Exact swaps for eggs, butter, and milk in your favorite baked goods, plus tips for cookies, cakes, brownies, and quick breads so nothing turns out gummy or dry.
recipes
Updated September 21, 2026
Butter vs. Shortening for Flaky Pie Crust

Maya Chen
Maya Chen is a passionate home cook, recipe developer, and mother of two who believes that great food doesn't have to be complicated. Drawing from her multicultural upbringing and time spent in professional test kitchens, she creates approachable, flavor-packed recipes designed for real life.
Sizzlea
recipes
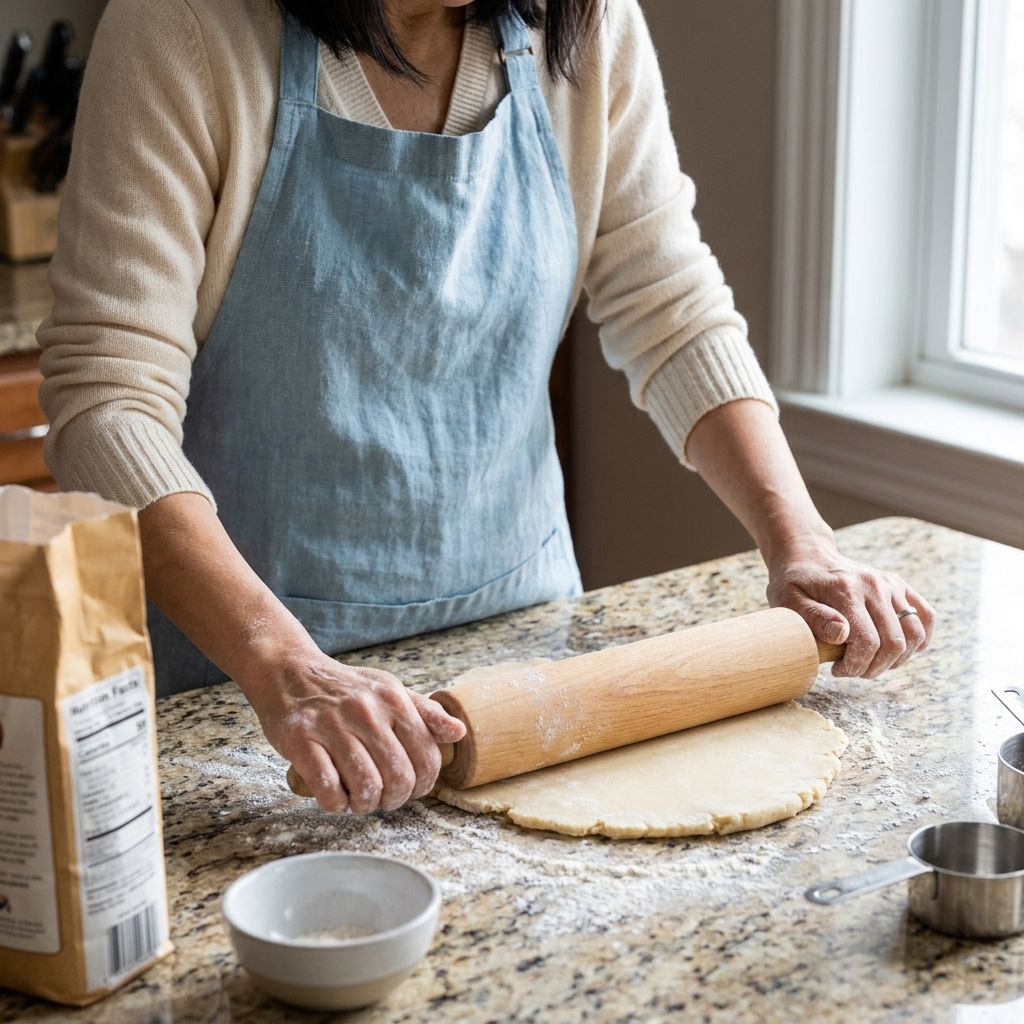
If pie crust has ever made you feel like you need a culinary degree and a stress ball, come stand next to me at the counter. I have flour on my shirt, a rolling pin in my hand, and one goal: a crust that bakes up flaky without tasting like cardboard.
The big question is usually this: butter or shortening ? Both can make a lovely crust, but they behave differently in the oven. Once you understand the “why,” you can choose the fat that matches your pie personality, or do my favorite move and use a hybrid that gives you the best of both worlds.
What makes a pie crust flaky?
Flaky crust happens when little sheets of fat are tucked between thin layers of dough. In the oven, that fat melts and leaves behind tiny gaps. Meanwhile, the water in your dough turns to steam and pushes those gaps wider, creating distinct layers.
So the secret is not “work harder.” The secret is: keep the fat cold, keep the pieces visible, and don’t overmix.
- Cold fat = slower melting = better lift and layers.
- Chunky fat bits (some pea-sized, some almond-sized) = more defined flakes.
- Minimal handling = less gluten = tender, not tough.
Butter in pie crust
Butter is the flavor darling for a reason. It makes a crust that tastes like, well, butter, with a gentle dairy sweetness and gorgeous browning.
Why butter tastes so good
Butter contains milk solids that brown in the oven, giving you that toasty, caramel-ish edge. That browning is a huge part of why a butter crust tastes “bakery-level” even if you made it in pajama pants.
Where butter can be tricky
- Softer at room temp: Butter has a relatively low melting range and it softens fast. If it warms while you’re mixing or rolling, it smears into the flour instead of staying in pieces. Less distinct pieces = fewer flakes.
- More water in the fat: Butter is not 100% fat. That extra water means there is more water available for gluten development if the dough gets overworked, and it can also make the dough feel sticky.
Butter crust is best for
- Fruit pies where you want big flavor payoff
- Galettes and rustic bakes where browning and aroma shine
- When you can chill the dough properly (this is key)
Shortening in pie crust
Shortening is the quiet workhorse. It is nearly pure fat, with a higher melting range, which makes it very forgiving and often extra flaky.
One quick note: shortening formulations vary by brand (all-vegetable, emulsified, butter-flavored). They will all “work,” but texture and flavor can vary a bit.
Why shortening is so flaky
- Higher melting range: It stays solid longer, so those fat pockets survive into the oven and create strong layers.
- No added water: Less risk of gluten development coming from the fat itself.
Where shortening falls short
- Flavor: It is neutral, which is nice sometimes, but pie crust should not taste like “nothing.”
- Browning: Without milk solids, you may get less golden color and a slightly paler bake.
Shortening crust is best for
- Beginners who want the easiest path to flake
- Hot kitchens where butter turns into a puddle in five minutes
- Pies where you want a crust that holds its shape well
So which is better?
If you made me pick one forever, I would choose butter for flavor. But if you asked which one gives the most consistent flake with the least fuss, I would say shortening.
My weeknight-mom answer is: use both. A hybrid crust gives you the butter taste people remember and the shortening reliability that keeps you from rage-rolling dough at 10 p.m.
Hybrid pie crust recipe
This is my go-to all-purpose crust for double-crust fruit pies, lattice tops, and even savory pot pies. It rolls easily, doesn’t slump as much, and still tastes like a proper butter crust.
Ingredients (makes 2 crusts, for one 9-inch double-crust pie)
- 2 1/2 cups (300g) all-purpose flour
- 1 tablespoon (12g) sugar (optional, but lovely for sweet pies)
- 1 teaspoon fine salt (see note below if using kosher)
- 10 tablespoons (140g) cold unsalted butter, cut into 1/2-inch cubes
- 6 tablespoons (72g) cold vegetable shortening
- 6 to 10 tablespoons (90 to 150g) ice water
- 1 teaspoon apple cider vinegar or vodka (optional, helps tenderness)
Method
- Chill your tools. If your kitchen is warm, pop your mixing bowl in the fridge for 10 minutes. Keep your butter and shortening cold.
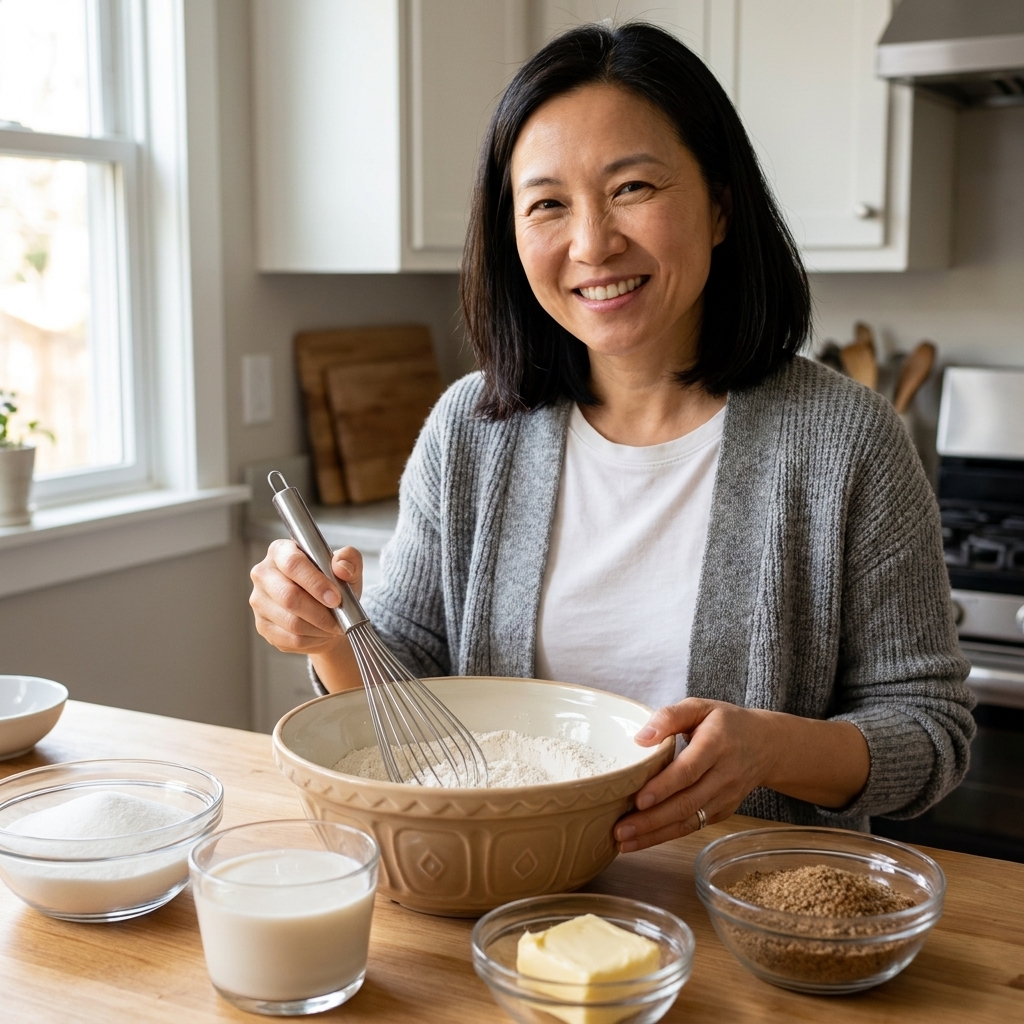
- Mix dry ingredients. In a large bowl, whisk flour, sugar (if using), and salt.
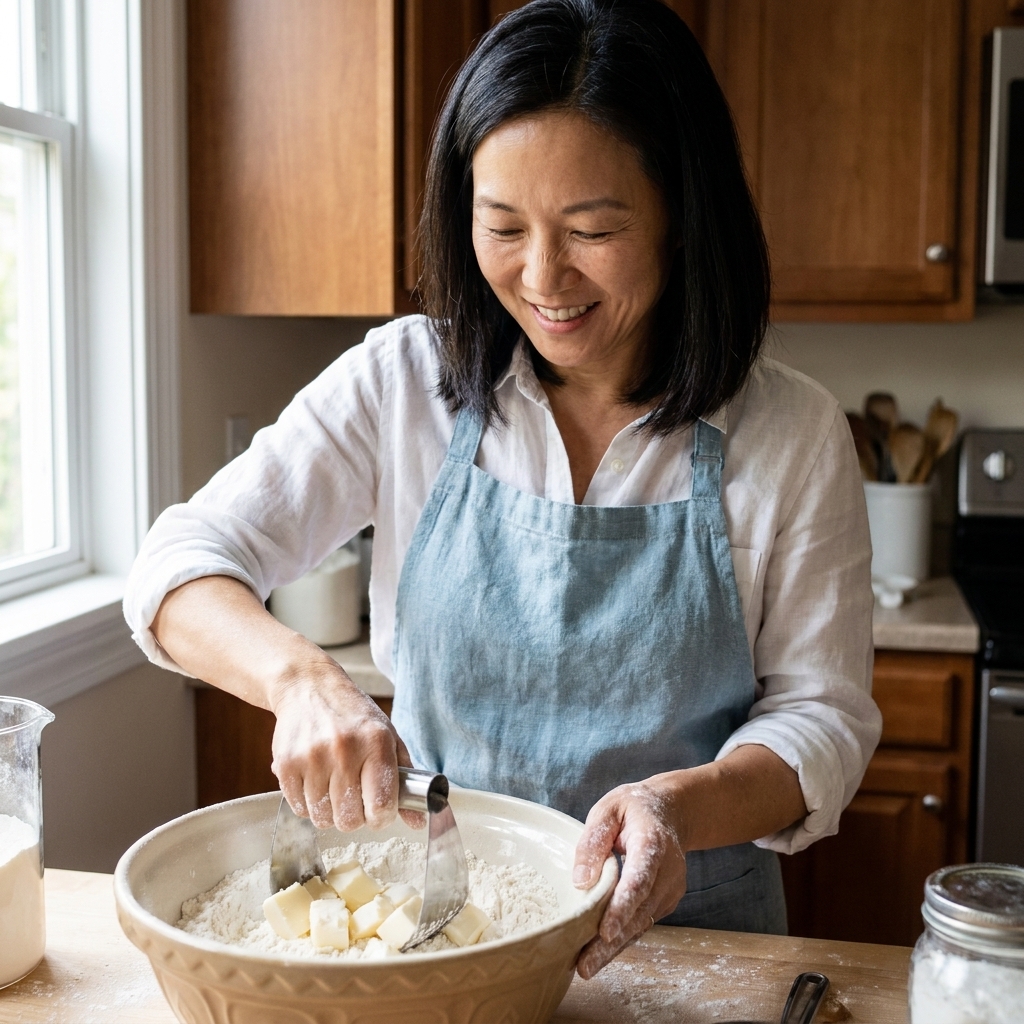
- Cut in the fats. Add the butter and shortening. Use a pastry cutter (or your fingertips quickly) to cut in until you have a mix of small crumbs and larger pieces. Aim for some pea-sized bits and some almond-sized bits. Those bigger pieces are future flakes.
- Add water slowly. Drizzle in 6 tablespoons ice water plus the vinegar or vodka if using. (Think of the vinegar or vodka as part of your liquid, not an extra splash on top.) Toss with a fork. Add more water 1 tablespoon at a time until the dough just holds together when you squeeze a handful. It should look a little shaggy, not smooth.
- Bring it together gently. Dump onto the counter and press into a rough mound. Divide into two discs. Wrap each disc tightly.
- Chill. Refrigerate at least 1 hour (2 hours is better). This rest hydrates the flour and helps the gluten relax, which makes rolling easier and the crust more tender.
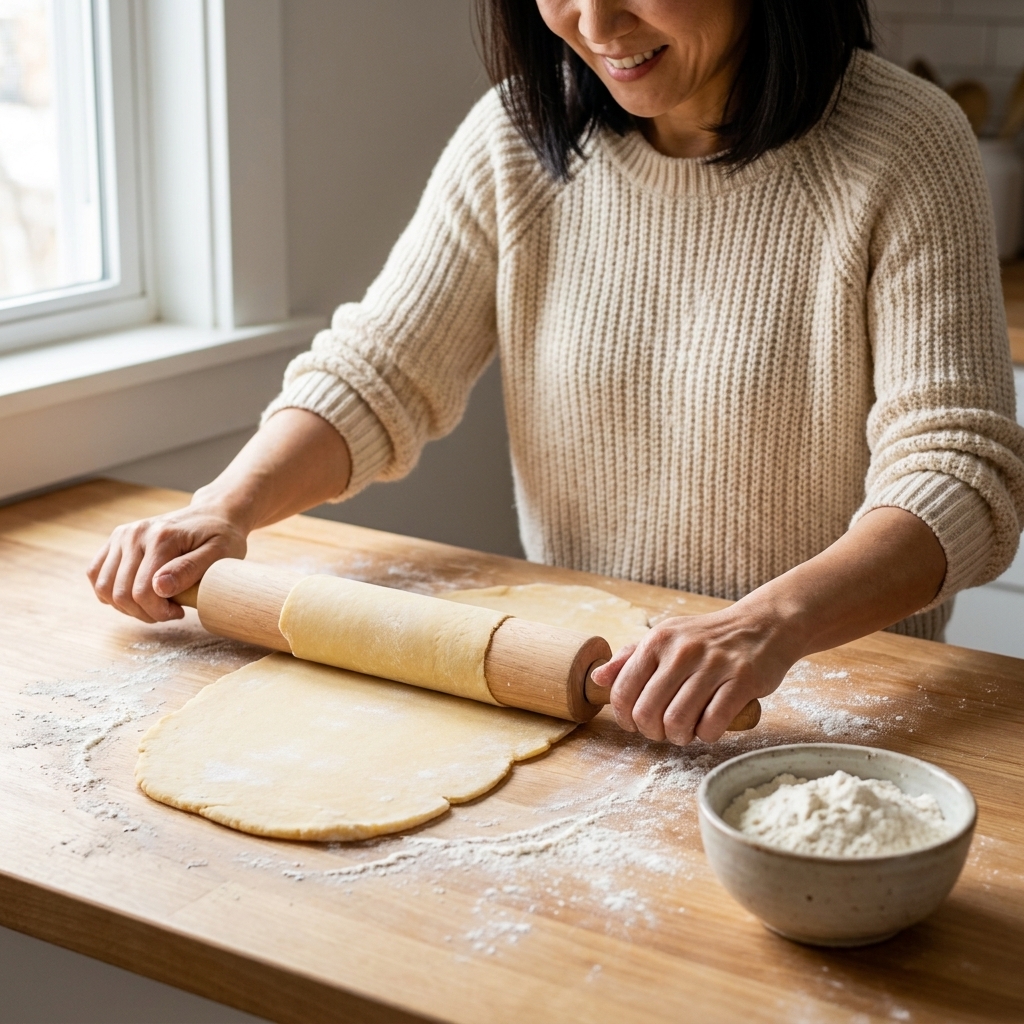
- Roll and line your pan. Roll one disc on a lightly floured surface to about 12 inches wide. Transfer to a 9-inch pie dish, letting the dough fall into the corners without stretching.
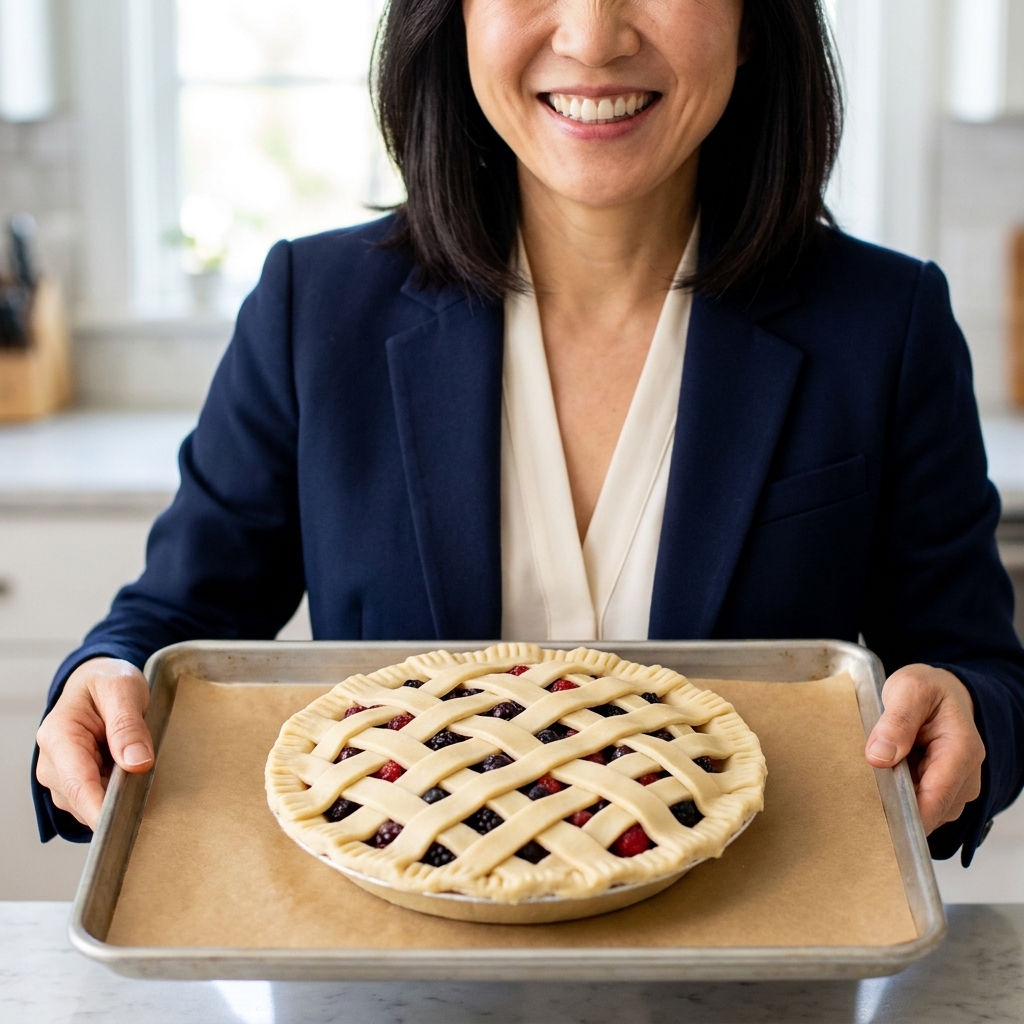
- Fill and top. Add filling, then roll the second disc for the top crust or lattice. Trim, crimp, and vent.
- Chill again before baking. This is the pro move. Chill the assembled pie 15 to 30 minutes before it goes into the oven. You want it firm, not tacky, and the butter pieces should feel hard if you touch the dough lightly.
Baking notes
- For fruit pies: Bake on a preheated sheet pan (helps crisp the bottom). Start hot (425°F / 218°C for 15 to 20 minutes), then reduce to 375°F / 190°C until deeply golden and bubbly.
- For blind baking: Chill the shaped crust, dock with a fork, line with parchment, fill with pie weights, and bake at 375°F / 190°C until the edges look set and dry and the bottom looks matte (often 15 to 20 minutes). Remove weights and bake 5 to 10 minutes more for a par-bake, or continue until the bottom is lightly golden for a fully baked crust.
Butter vs. shortening: quick cheat sheet
- Best flavor: Butter
- Most dependable flake: Shortening
- Easiest to roll: Shortening or hybrid
- Best browning: Butter or hybrid
- Best all-around for most home bakers: Hybrid
Tips that matter more than the fat
Yes, the butter-versus-shortening debate is real. But these are the things that actually decide whether your crust is tender and flaky or tough and sad.
1) Keep everything cold
If the dough feels soft, sticky, or shiny while rolling, slide it onto a sheet pan and refrigerate for 10 minutes. Cold dough is cooperative dough. You want it firm to the touch, not tacky.
2) Add water with restraint
Too little water and the crust cracks. Too much and it turns tough. Start small, then add tablespoon by tablespoon until it holds when squeezed.
3) Do not “knead” pie dough
Press and fold a few times, that’s it. We are not making bread.
4) Don’t stretch the dough into the pan
Stretching = shrinking. Let it settle naturally into the corners.
5) Chill the shaped pie
This one step helps prevent slumping and keeps those fat pieces intact until the oven does its magic.
6) Salt swaps, quickly
This recipe uses fine salt. If you use kosher salt, you may need a bit more because the crystals are larger. Start with 1 1/4 teaspoons kosher, then adjust next time if needed.
FAQ
Can I use all butter and still get a flaky crust?
Absolutely. The key is keeping the butter cold and leaving some larger pieces when you cut it in. Also, chill the dough before and after rolling.
Does shortening make crusts greasy?
Not if the dough is balanced and baked thoroughly. Greasiness usually comes from underbaking, too much fat for the amount of flour, or a crust that never fully dries and sets in the oven.
What about lard?
Lard makes an incredibly flaky, tender crust and can be wonderfully flavorful depending on the brand. If you love it, you can swap it for the shortening in the hybrid recipe.
Why is my crust tough?
Usually overmixing (too much gluten) or too much water. Next time, mix less, add water slowly, and stop as soon as the dough holds together.
Can I make pie dough ahead?
Yes. Wrap discs tightly and refrigerate up to 3 days, or freeze up to 3 months. Thaw overnight in the fridge.
My take
If you want the loudest, most nostalgic flavor, go butter. If you want easy-mode flake, go shortening. If you want a crust that tastes like you tried harder than you did, use the hybrid. It is the crust I reach for when I’m baking for people I love, which is basically always.
And remember: even a slightly imperfect homemade crust still beats a stressed-out baker. Flour the counter, chill when needed, and keep going. Your pie is going to be delicious.