
Learn the essential techniques for real wok hei on a home stove, plus classic stir-fry recipes: beef chow fun, chicken with scallion-ginger, and blistered gr...
recipes
Updated September 21, 2026
Japanese Sushi Rolls at Home

Maya Chen
Maya Chen is a passionate home cook, recipe developer, and mother of two who believes that great food doesn't have to be complicated. Drawing from her multicultural upbringing and time spent in professional test kitchens, she creates approachable, flavor-packed recipes designed for real life.
Sizzlea
recipes
If you have ever watched a sushi chef roll maki with calm, effortless precision and thought, nope, not for me, come stand by me at the counter. I am a very enthusiastic home cook, a little messy, and deeply committed to getting you to “restaurant-quality” without turning your kitchen into a stress zone.
Making sushi rolls at home is mostly about three things: properly seasoned rice, confident (not fancy) knife work, and a rolling technique that keeps everything tight and tidy. Once you nail those, even simple fillings like cucumber and avocado still feel like a treat.
What you need (and what you can skip)
You do not need a chef’s knife collection or a sushi-grade fish thesis to get started. Here is the short list that makes a big difference.
Essential tools
- Short-grain Japanese rice (often labeled sushi rice)
- Rice vinegar, sugar, salt for seasoning (see note below on seasoned vs unseasoned)
- Bamboo rolling mat (makisu). Wrap it in plastic wrap for easy cleanup.
- Nori sheets (look for crisp, unbroken sheets)
- Very sharp knife (a sharp knife is safer and cleaner than a dull one)
- Cutting board plus a small bowl of water for wetting hands and blade
Helpful extras
- Rice paddle (or a silicone spatula)
- Fine mesh strainer for rinsing rice
- Kitchen scale for consistent rice to water ratios
- Paper towels for blotting watery fillings (this is the secret to non-soggy rolls)
Nori notes
Keep nori sealed and dry until you are ready to roll. If it tastes a little stale, you can lightly toast it for a few seconds over a gas flame or in a dry skillet, just until it smells nutty and crisps up. Do not walk away. Nori goes from “perfect” to “charcoal” with zero warning.
Skip the temptation to buy every “sushi gadget.” A mat, good rice, and a sharp knife get you most of the way there.
Sushi rice
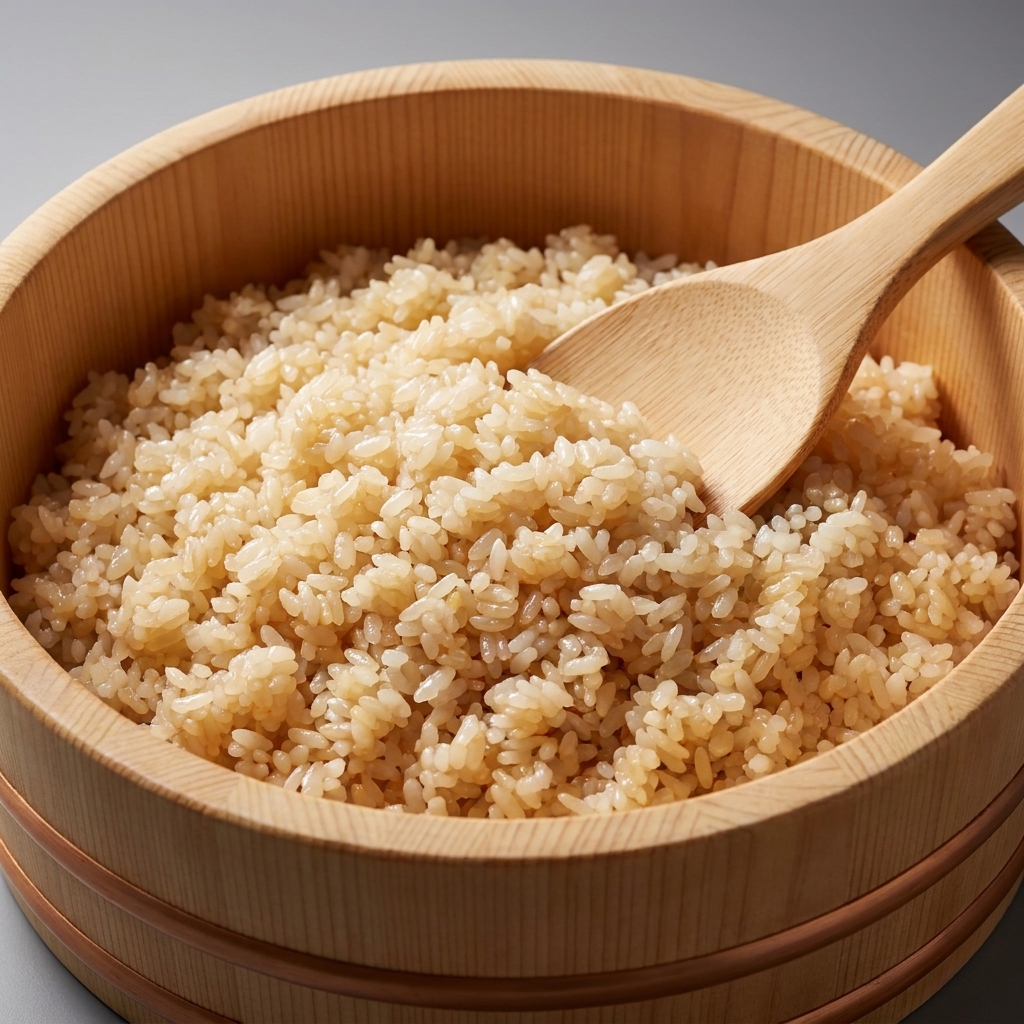
Sushi rice is not just rice with vinegar. It should be glossy, tender, and gently seasoned so it tastes like something all on its own. Too wet and your roll slides around. Too dry and it cracks and fights you.
Ingredients (about 4 to 6 rolls)
- 2 cups short-grain Japanese rice
- Water (see note below)
- 1/3 cup rice vinegar (unseasoned)
- 2 tablespoons sugar
- 1 teaspoon fine salt
Water note: Rice brand and rice cooker marks matter. Many short-grain rices do well around 1:1 to 1:1.1 water to rice by volume after rinsing and draining. Start with your bag instructions or rice cooker lines, then adjust next time if needed.
Seasoning note: This vinegar mix is a solid starting point. Taste a small bit of rice once it is seasoned and warm, then adjust next batch to your preference.
Step-by-step
- Rinse the rice: Put rice in a bowl, cover with cool water, swish gently, then drain. Repeat 4 to 6 times until the water is much clearer. This helps the grains cook up plush, not gummy.
- Soak (optional but helpful): Cover with fresh water and soak 20 minutes. Drain well.
- Cook: Cook in a rice cooker following the cooker marks, or use the stovetop method below.
- Stovetop method: Add drained rice and the appropriate water to a pot with a tight-fitting lid. Bring to a boil, cover, reduce to low, and simmer 15 minutes. Turn off heat and let it steam (covered) 10 minutes. Do not peek, your steam is doing important work.
- Make the seasoning: Warm the vinegar, sugar, and salt just until dissolved. Do not boil.
- Season and cool: Transfer rice to a wide bowl (or a sheet pan). Drizzle seasoning over while gently folding with a paddle or spatula. Do not mash. You want glossy grains, not paste. Fan the rice as you fold if you can. It should cool to warm room temp, not cold.
Texture checkpoints
- Right: grains cling together but still look distinct, rice feels fluffy and slightly sticky
- Too wet: puddles of vinegar, rice looks mushy, rolls feel slippery
- Too dry: rice looks matte, cracks when you press it, nori tears when rolling
Maya tip: Keep a damp towel over your rice bowl while you roll so the top does not dry out.
Fish basics
Let us talk fish without fear. “Sushi-grade” is not a tightly regulated label in many places. What matters is buying from a reputable fishmonger or market you trust and telling them you plan to eat it raw.
Also worth knowing: for many species, parasite-destruction freezing is part of the safety picture, and the exact requirements vary by jurisdiction and fish type. Reputable sellers who supply fish intended for raw consumption typically follow appropriate handling and freezing practices.
Best beginner choice
- Cooked fillings first: imitation crab, cooked shrimp, smoked salmon, tamagoyaki (Japanese omelet), tofu, or just veggies. You still get the sushi experience while you build skills.
If you want raw fish at home
- Buy from a seller that can confirm it is intended for raw consumption
- Keep it very cold and use it the same day you buy it
- Transport quickly and refrigerate immediately
- Use a clean board and knife and avoid cross-contamination
Important: I cannot guarantee food safety over the internet, so when in doubt, choose cooked seafood or veggies. And if you are pregnant or immunocompromised (or cooking for someone who is), it is smart to skip raw seafood entirely.
Knife skills
Sushi gets its “restaurant look” from neat slices and tidy fillings. You do not need fancy cuts, you need consistency.
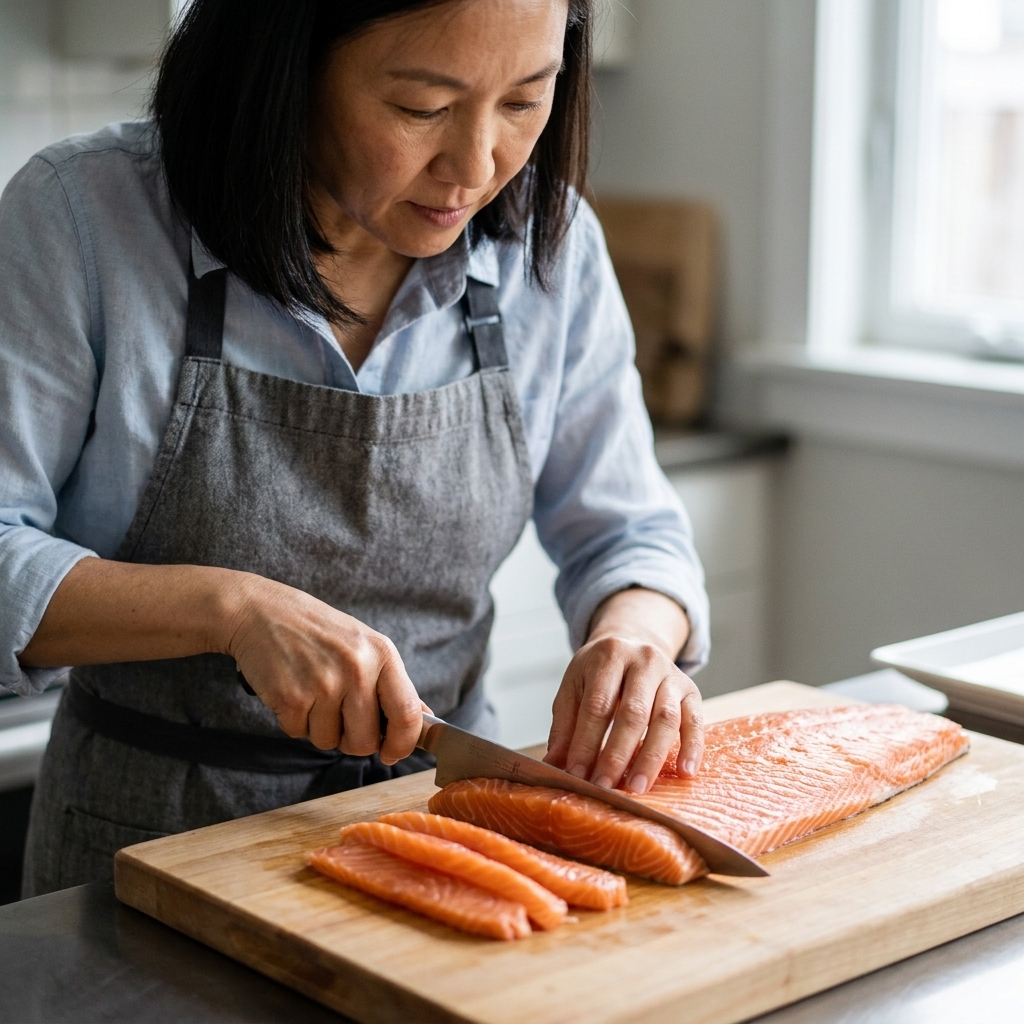
Slicing fish for rolls
- Chill it first: Cold fish is firmer and easier to slice.
- Slice against the grain: Look for the muscle lines and cut across them for tenderness.
- Think matchsticks: For maki, aim for long, even strips about 1/4 inch thick (up to 1/2 inch for sturdier veggies).
- Use long strokes: Pull the knife through in one smooth motion rather than sawing.
Veggie slicing that makes rolling easier
- Cut cucumber and avocado into long batons
- Blot juicy ingredients (cucumber, mango) with paper towel
- Keep fillings modest so the roll can close cleanly
Rolling maki
This is where it all comes together. Your first roll might look a little quirky. That is normal. By roll three, you will feel the rhythm.
Set up your station
- Rolling mat wrapped in plastic
- Bowl of water for wetting hands
- Nori, rice, fillings lined up
- Knife nearby plus a damp towel
Classic maki (nori outside)
Nori size: For standard maki (the kind you cut into 6 to 8 pieces), use half a sheet of nori. Full sheets are great for thicker futomaki, but you will want more rice and fillings, and you will get a bigger roll.
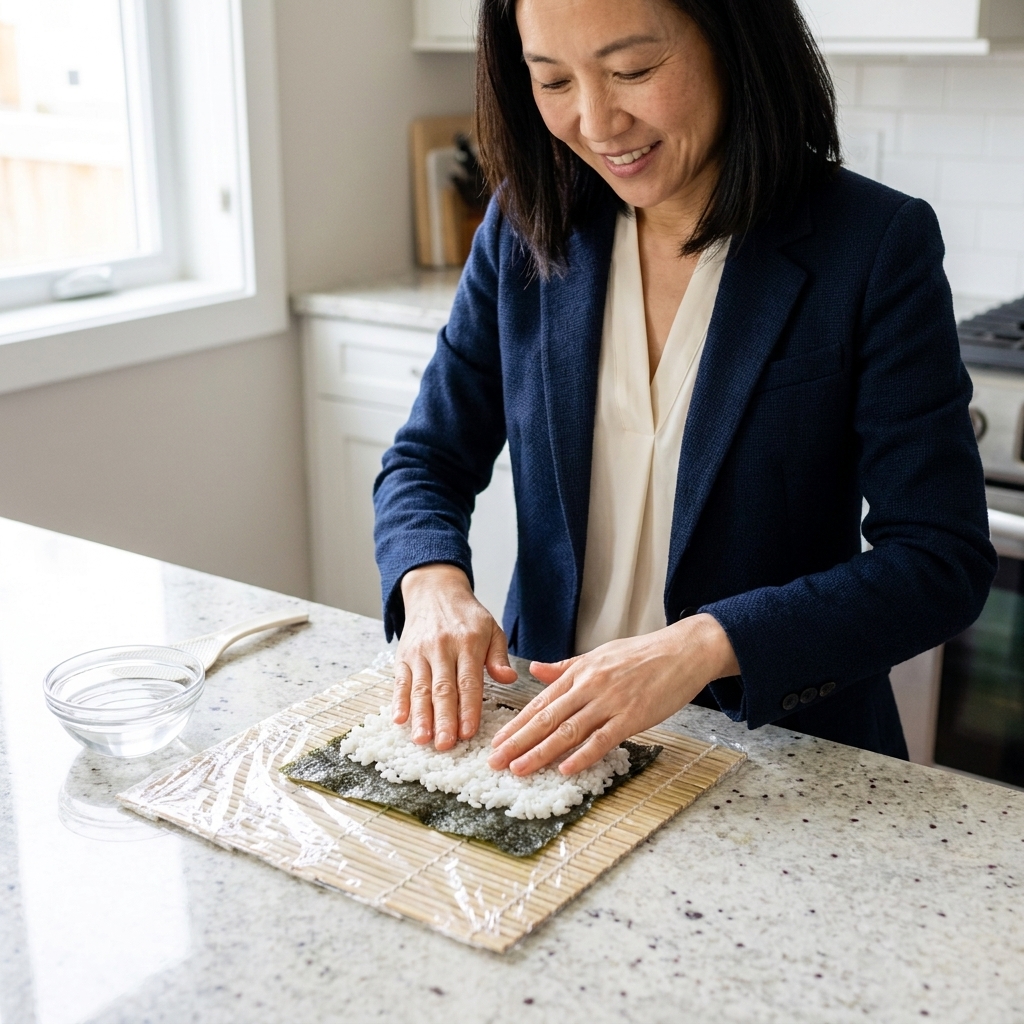
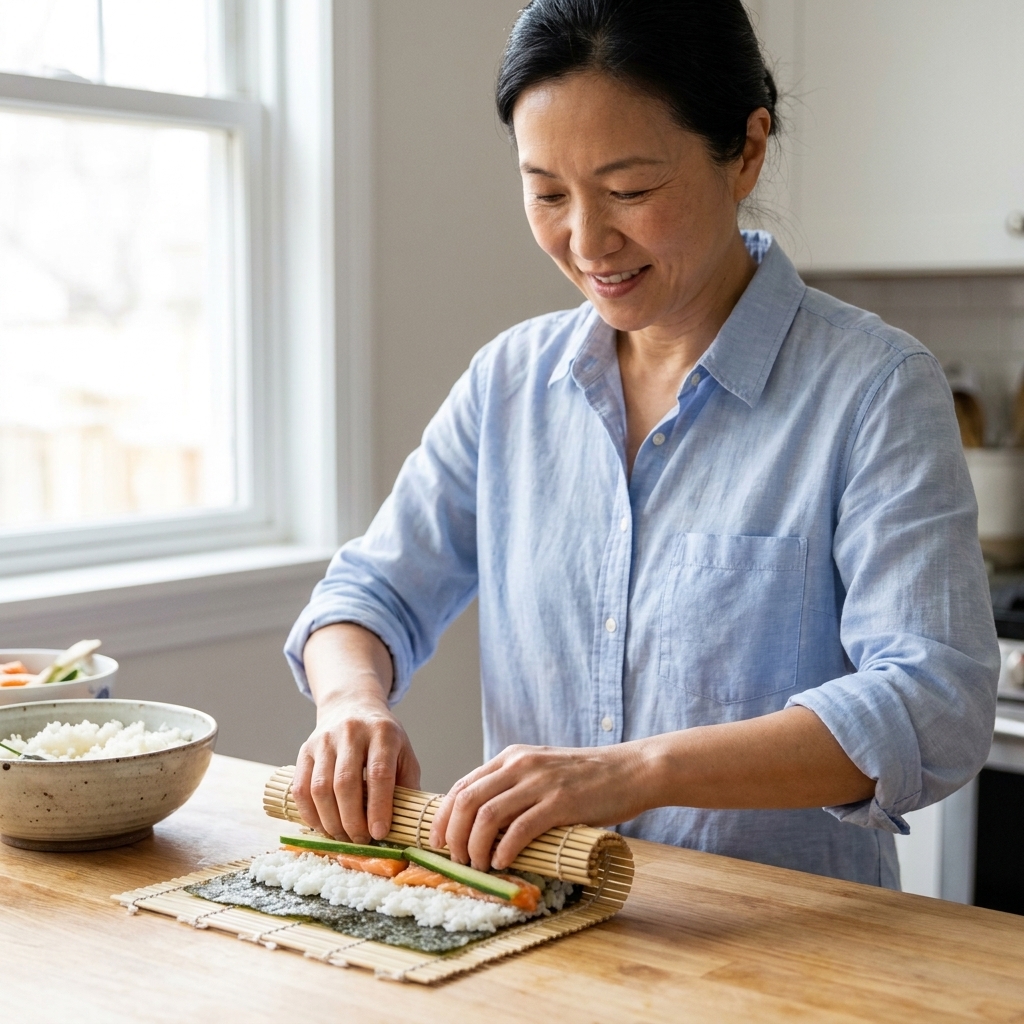
- Place nori: Put half a sheet of nori shiny-side down on the mat, with the long edge facing you.
- Add rice: Wet your hands. Spread about 1/2 to 2/3 cup rice over the nori in an even layer, leaving about a 3/4 inch strip bare along the top edge.
- Add fillings: Lay fillings in a horizontal line across the lower third. Do not overfill.
- Roll: Lift the mat edge closest to you and roll over the fillings, tucking them in. Press gently but firmly to shape a tight cylinder.
- Seal: Continue rolling until you reach the bare strip of nori. Lightly wet that strip and finish rolling to seal.
- Shape: Use the mat to snug and round out the roll (gentle pressure, not smashing).
Cutting clean pieces
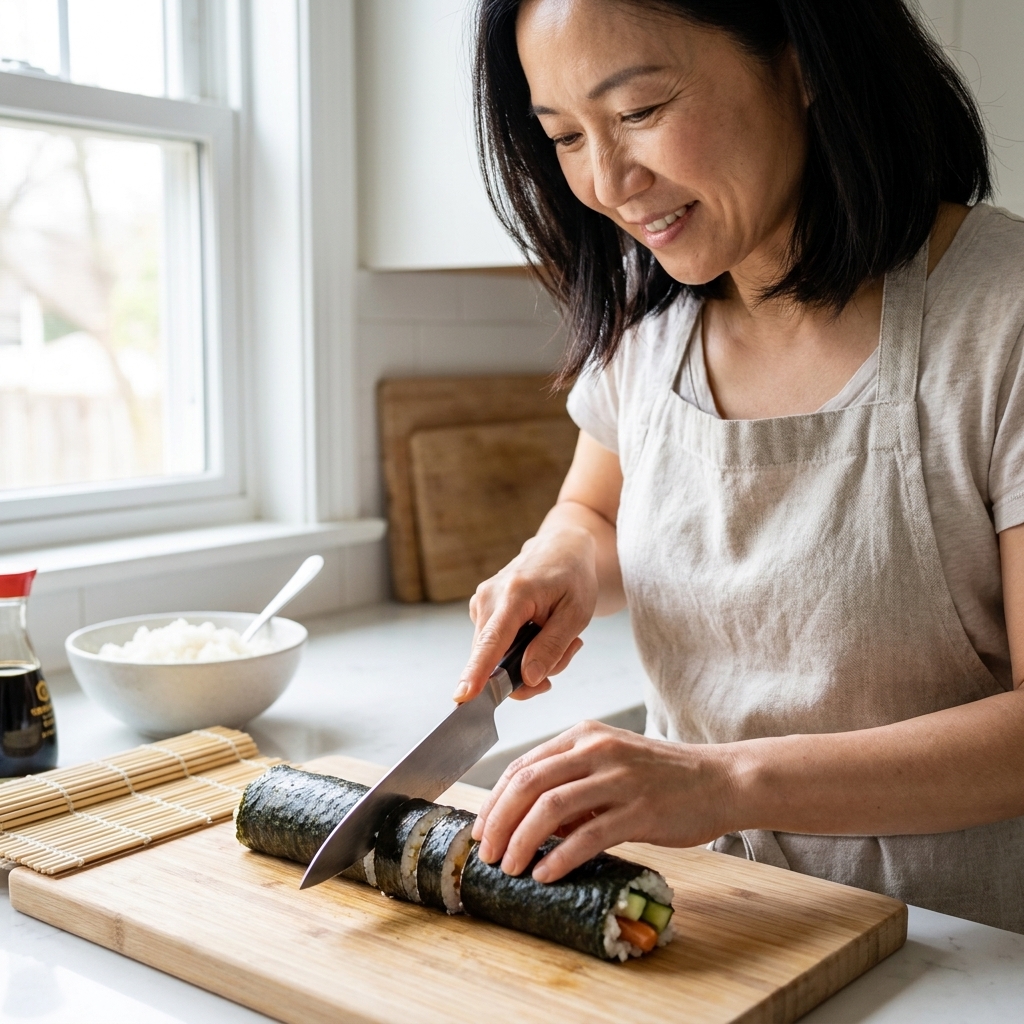
- Use a very sharp knife.
- Wipe the blade with a damp towel between cuts.
- Cut the roll in half first, line up the halves, then cut into thirds or quarters for 6 to 8 pieces.
Maya tip: If your nori tears while rolling, your rice layer is probably too thick or your fillings are too wet. Use a little less rice next time and blot watery fillings.
Beginner rolls
Start with rolls that behave nicely and taste amazing without requiring perfect fish slicing. Here are my go-to crowd pleasers.
California-style roll
- Imitation crab (or cooked crab)
- Avocado
- Cucumber
- Optional: toasted sesame seeds
Spicy tuna style (cook-friendly)
- Canned tuna (drained well)
- Mayo
- Sriracha
- Scallions
- Optional: cucumber for crunch
Smoked salmon and avocado
- Smoked salmon
- Avocado
- Thin cucumber batons
Veggie crunch roll
- Cucumber
- Avocado
- Carrot matchsticks
- Pickled radish (takuan) if you can find it
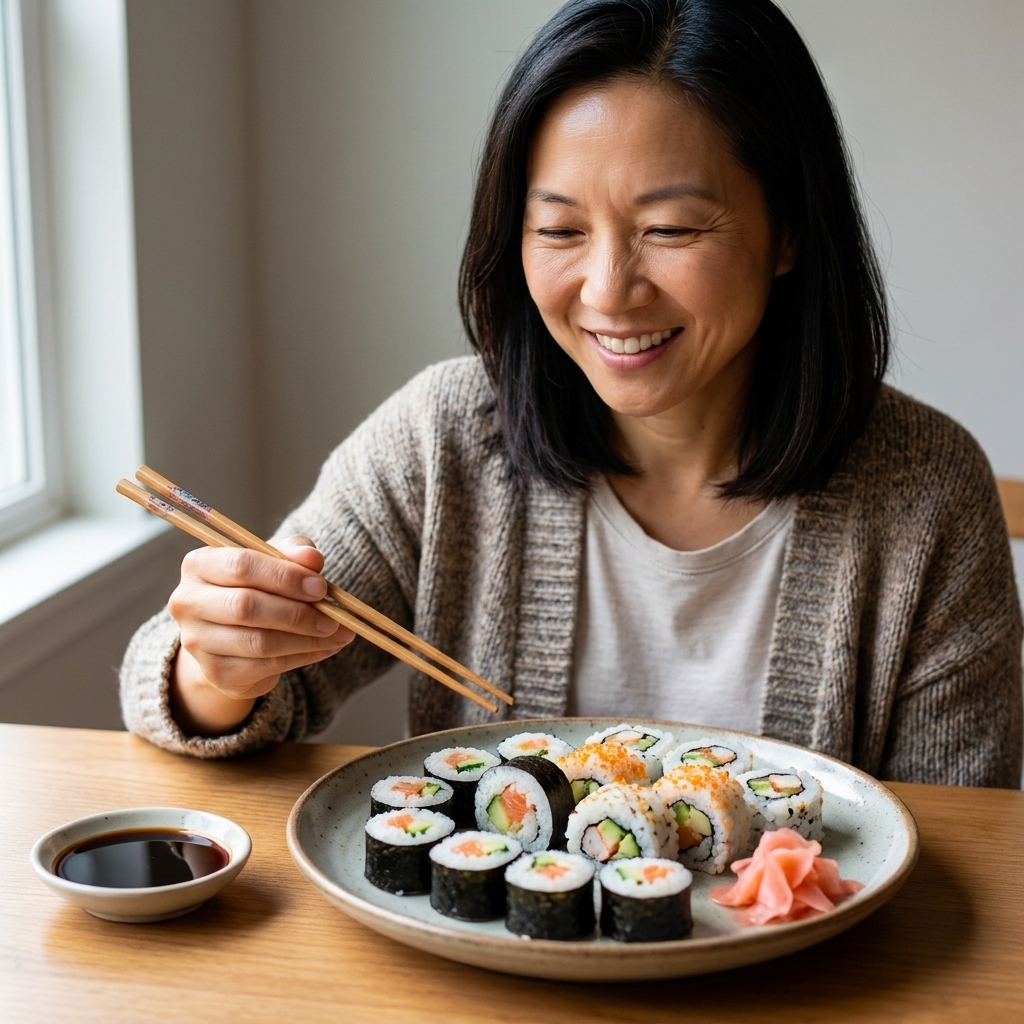
Serve with soy sauce, pickled ginger, and wasabi if you love it. Low-sodium soy sauce is great if you are sensitive to salt. Also, a quick nerdy note: most “wasabi” in tubes is horseradish-based, which is still delicious, just not always true wasabi.
A simple bowl of miso soup on the side makes it feel like a full little restaurant moment at home.
Troubleshooting
My rice is sticking to my hands
Keep a bowl of water nearby and wet your fingertips often. Also make sure the rice is cooled to warm room temperature, not hot.
My roll will not seal
Leave the top strip of nori bare, then lightly wet it before finishing the roll. If you overfilled, the nori may not meet cleanly.
My nori gets chewy
Roll and slice close to serving time. Also check that your rice is not too wet and your fillings are blotted dry.
My pieces look squished
Use a sharper knife, wipe between cuts, and avoid pressing down hard. Let the knife do the work.
My rice tastes bland
First, check your vinegar. If you used seasoned rice vinegar, the sugar and salt levels may be different than expected. If you used unseasoned vinegar (recommended here), you control the flavor. Either way, sushi rice should taste gently sweet and tangy on its own. Next batch, slightly increase the vinegar mixture and fold it in evenly.
Make-ahead
- Cook rice up to 2 hours ahead and keep it covered at room temperature. Refrigerated rice gets hard and is difficult to roll.
- Prep fillings ahead: slice veggies, mix spicy tuna, portion smoked salmon.
- Set up a rolling station like a little assembly line. It keeps kids and partners happily “helping” without chaos.
FAQ
Can I make sushi without a bamboo mat?
Yes. Use a clean kitchen towel covered with plastic wrap. You will have slightly less control, but it works.
What is the best rice to buy?
Look for Japanese short-grain rice labeled “sushi rice.” Brands vary, but the key is short-grain. Long-grain rice will not give you the same stickiness.
How do I make inside-out rolls (uramaki)?
Spread rice on the nori, sprinkle with sesame seeds if you like, then flip so nori faces up. Add fillings and roll. Wrap your mat in plastic wrap so the rice does not stick.
How long do homemade sushi rolls last?
They are best the day you make them. For leftovers with cooked fillings, refrigerate promptly in an airtight container and eat within 24 hours, knowing the rice will firm up and the nori can soften. Rolls made with raw fish should generally not be saved.
Game plan
If you want the simplest path to a win, here is what I would do: make the rice, prep cucumber and avocado, use imitation crab or smoked salmon, and roll 4 simple maki. Slice with a damp, sharp knife. Plate them neatly. Take a breath. Suddenly, you are the sushi spot.
And if your first roll is a little lopsided, congratulations. You made sushi at home. That is already wildly impressive.