A friendly, science-backed guide to dialing in your ideal chocolate chip cookie texture with simple ingredient and baking tweaks.
recipes
Updated September 21, 2026
Tempering Chocolate at Home

Maya Chen
Maya Chen is a passionate home cook, recipe developer, and mother of two who believes that great food doesn't have to be complicated. Drawing from her multicultural upbringing and time spent in professional test kitchens, she creates approachable, flavor-packed recipes designed for real life.
Sizzlea
recipes
Tempering chocolate sounds like one of those fancy pastry chef things, but it is really just a little temperature management so your chocolate sets up glossy, snappy, and not streaky. If you have ever dipped a strawberry and ended up with a dull gray coating that melts the second you touch it, tempering is the fix.
Today we are doing the easiest at-home approach: the seeding method. No marble slab. No drama. Just a bowl, a spatula, and a thermometer so you can make professional-looking truffles, bark, and dipped treats in your own kitchen.
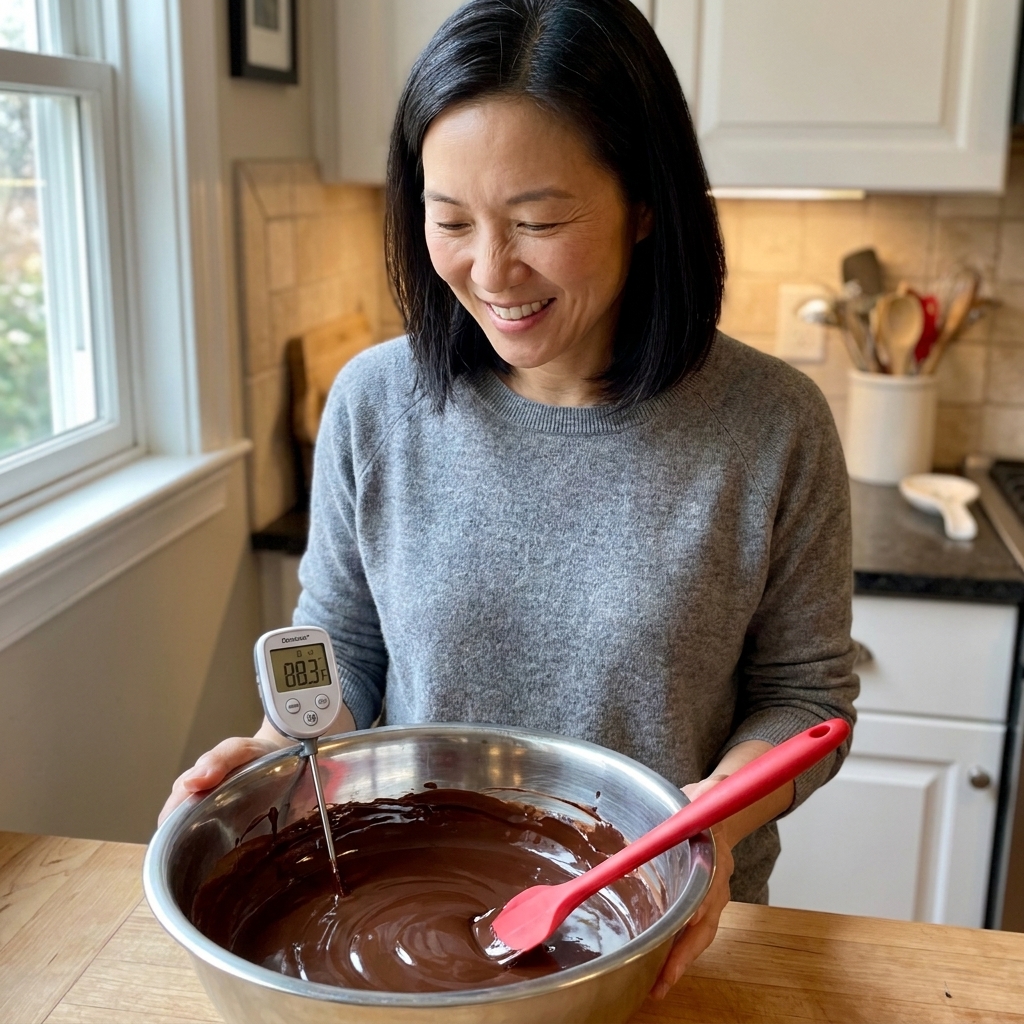
What tempering does
Chocolate contains cocoa butter, which can set into different crystal forms. Tempering encourages the “good” crystals so your finished chocolate:
- Looks shiny instead of dusty or streaked
- Snaps cleanly when you break it
- Sets at room temperature faster and more evenly
- Resists melting on your fingers
If you are coating truffles, making bark, or dipping fruit, tempering is what gives you that candy-shop finish.
Best chocolate to use
For tempering, start with real chocolate, not candy melts.
- Use: bars or fèves labeled bittersweet, semisweet, milk, or white chocolate (ingredients typically include cocoa mass or cocoa butter).
- Avoid: “chocolatey coating” or compound chocolate (these use vegetable fats and do not temper the same way).
Tip from my messy-cook life: Chop your chocolate finely and fairly evenly. Smaller pieces melt evenly, and even melting is basically half the battle.
One more tiny-but-mighty tip: Your seed chocolate should be from a properly stored bar (no chalky bloom, not melted and rehardened in a hot car). Seeding works best when the seed is already in decent shape.
Tools you need
- Digital thermometer (instant-read or clip-on)
- Heatproof bowl (metal or glass)
- Small saucepan for a double boiler
- Silicone spatula
- Dry towel (water is chocolate’s enemy)
If you plan to dip, add a fork or dipping tool, plus parchment paper for setting the pieces.
Bubble warning: Stir and fold rather than whisking like you are making whipped cream. Too much vigorous mixing can add air bubbles that show up in your finish.
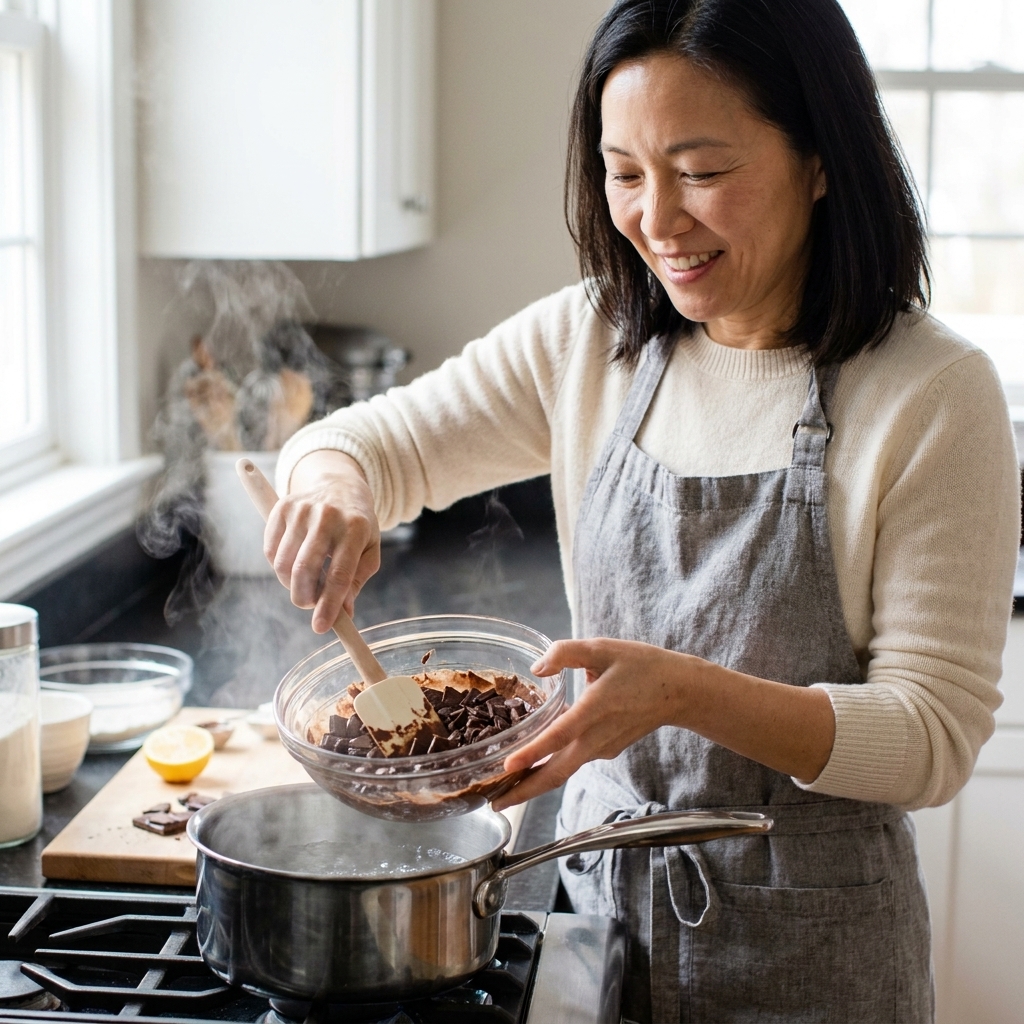
Key temperatures
Tempering is a three-part process: melt to erase old crystals, cool to form good crystals, then reheat slightly to a workable dipping temperature.
Little reality check: Temperature charts vary a bit by brand and formulation. Stay in the right neighborhood, and do a quick temper test before you commit to dipping a whole tray.
Dark chocolate
- Melt to: 113°F to 122°F (45°C to 50°C) (some brands go as high as 131°F / 55°C)
- Cool to: 82°F to 84°F (28°C to 29°C)
- Work at: 88°F to 90°F (31°C to 32°C)
Milk chocolate
- Melt to: 104°F to 113°F (40°C to 45°C) (try not to exceed 115°F / 46°C)
- Cool to: 80°F to 82°F (26°C to 28°C)
- Work at: 84°F to 86°F (29°C to 30°C)
White chocolate
- Melt to: 104°F to 113°F (40°C to 45°C) (try not to exceed 113°F / 45°C)
- Cool to: 78°F to 80°F (25°C to 26°C)
- Work at: 82°F to 84°F (28°C to 29°C)
Milk and white chocolate are the drama queens of the bunch. Keep the heat gentle, and do not let the bowl get steamy.
How to temper chocolate
This method works by melting most of the chocolate, then using unmelted chopped chocolate as “seed” to bring the temperature down and introduce stable crystals.
Step 1: Prep first
- Chop your chocolate. Set aside about 25 percent as your seed.
- Line a baking sheet with parchment if you are dipping.
- Make sure bowls and tools are bone dry.
Step 2: Melt gently
Fill a saucepan with 1 to 2 inches of water and bring it to a gentle simmer. Set your bowl on top so it does not touch the water. Add the larger portion of chopped chocolate and stir until melted and smooth.
Keep it gentle: Too much heat is how chocolate scorches, thickens, or gets knocked into a weird texture.
Steam check: If you see a lot of steam, lower the heat or pull the bowl off for a moment. Steam plus chocolate is not a love story.
Step 3: Cool by seeding
Remove the bowl from heat and wipe the bottom dry. Add your reserved chopped seed chocolate a handful at a time, stirring steadily. This cools the melted chocolate while adding stable crystals.
- For dark chocolate, stir until it cools to about 82°F to 84°F.
- For milk chocolate, 80°F to 82°F.
- For white chocolate, 78°F to 80°F.
If a few small bits refuse to melt, that is okay. Once you hit your working temperature in Step 4, you can:
- Fish them out with a fork, or
- Strain the chocolate through a fine-mesh sieve right before dipping.
Step 4: Warm to working temp
Return the bowl to the double boiler for 5 to 10 seconds at a time, then pull it off the heat and stir for a few seconds. Repeat, checking the thermometer often, until you reach:
- Dark: 88°F to 90°F
- Milk: 84°F to 86°F
- White: 82°F to 84°F
Now you are in the sweet spot: fluid enough to dip, but still properly tempered.
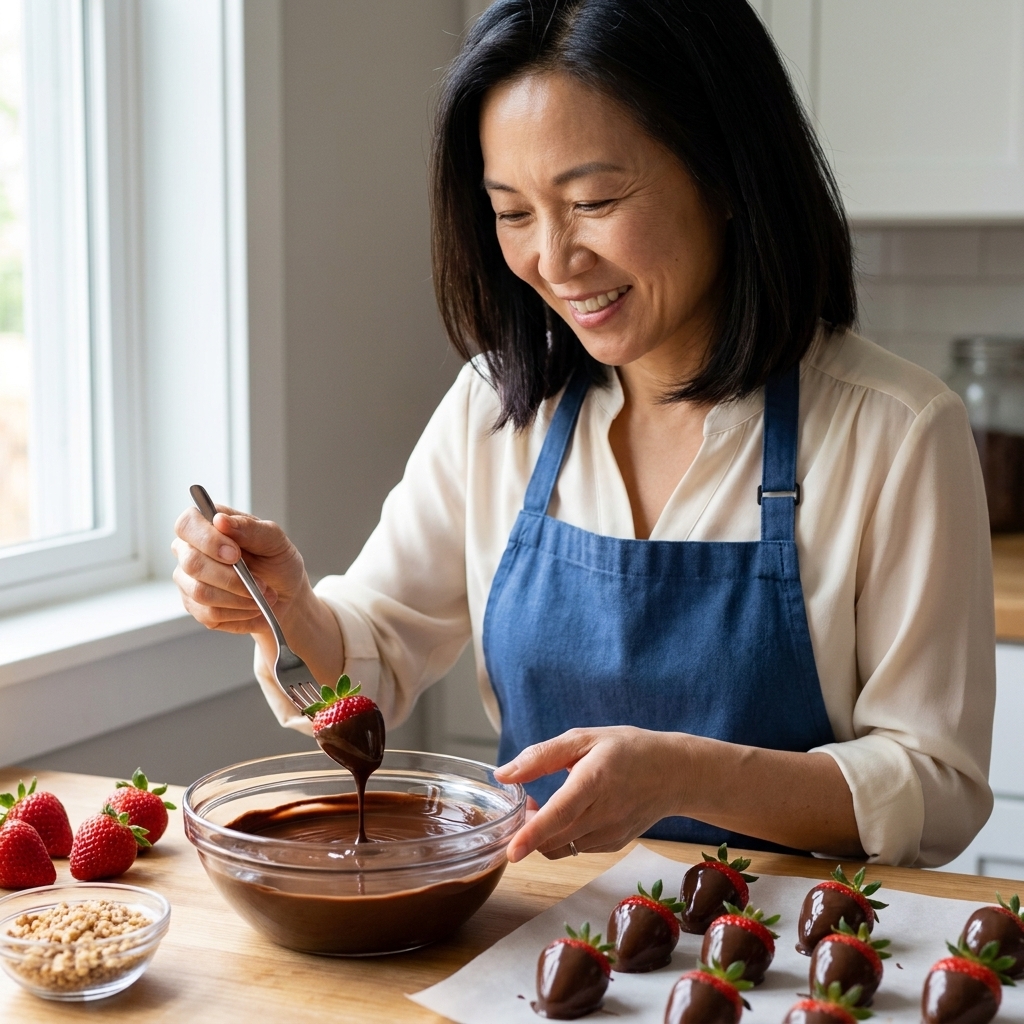
Temper test
Before you dip a whole tray of anything, do a quick test:
- Dip the tip of a spoon or a strip of parchment into the chocolate.
- Let it sit at room temperature for 3 to 5 minutes (up to 10 minutes if your room is warm).
What you want: It sets firm, looks shiny, and does not streak. When you touch it lightly, it should feel dry and not smear.
If it stays tacky or streaky: It is out of temper. See the troubleshooting section below.
Keep it in temper
Tempered chocolate is a bit like a toddler at bedtime. It is happiest when you keep conditions steady.
- Stay in the working range: If it cools and thickens, warm it in short bursts over the double boiler. If it gets too warm, add a little more chopped seed chocolate.
- Stir often: This helps maintain the crystal structure.
- Avoid steam: Keep the water at a low simmer, keep the bowl from touching the water, and wipe condensation off the bowl.
- Work in a cool room: Ideally 65°F to 70°F. If your kitchen is hot, chocolate will fight you.
Troubleshooting
Thick and grainy
This is usually seizing from a tiny bit of water or steam. It is not unsafe, it just will not behave for dipping or tempering in this batch. You can still save it for brownies or hot chocolate by whisking in warm cream or milk and using it as a sauce.
Dull or gray streaks
That is often fat bloom from improper tempering or setting and storing in warm or fluctuating temperatures. Remelt and temper again, and make sure you hit the cool-down and working temperatures.
Setting too slowly
Your chocolate is likely too warm or your room is too warm. Stir and let it cool slightly, or add a small handful of chopped seed chocolate to bring the temperature down.
Too thick to dip
It has cooled below working temperature. Warm it for a few seconds over the double boiler, stirring constantly. Do not blast it with heat or you will knock it out of temper.
What to make
Now for the fun part. Tempered chocolate is basically a choose-your-own-adventure.
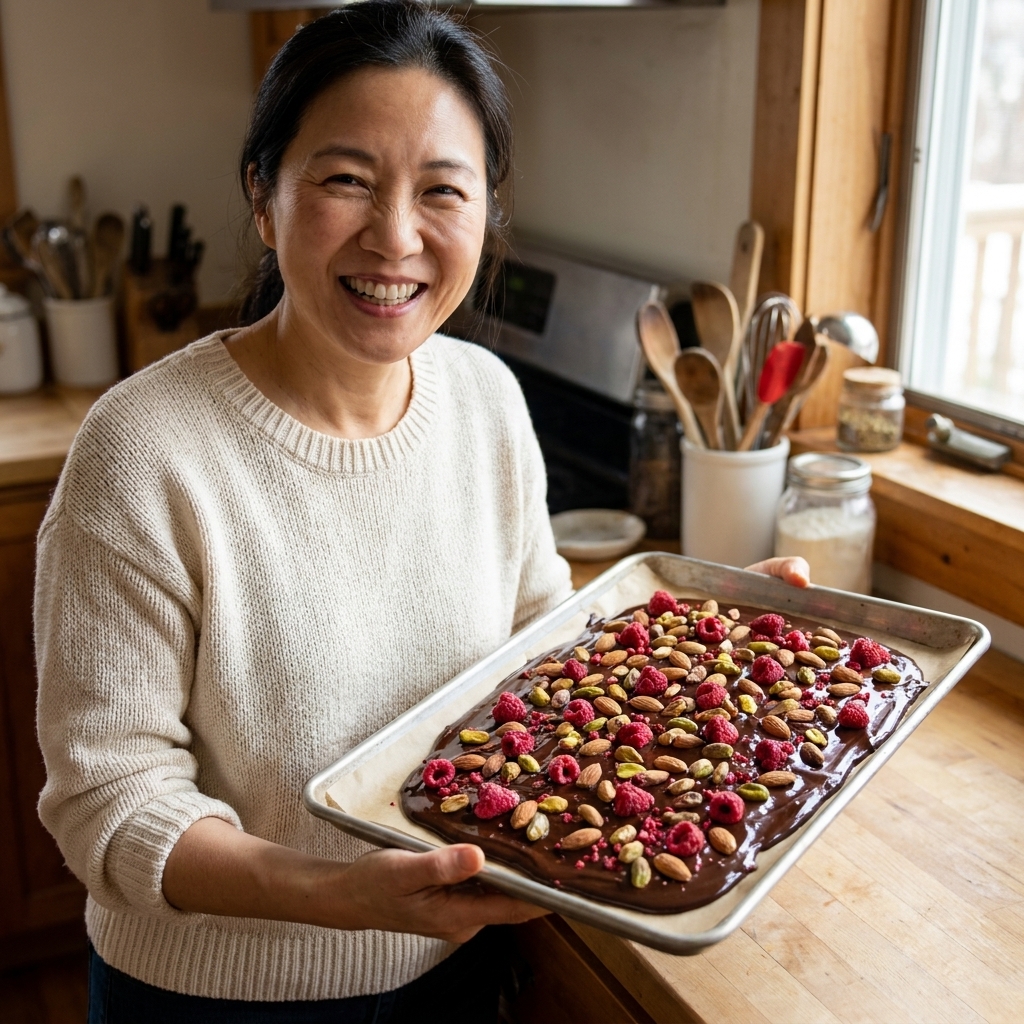
Chocolate bark
- Spread tempered chocolate on parchment into a thin layer.
- Top with toasted nuts, crushed pretzels, freeze-dried berries, or flaky salt.
- Let set at room temperature until firm, then break into shards.
Dipped fruit
- Dry fruit very well (especially strawberries).
- Dip, let excess drip off, then set on parchment.
- Optional: add sprinkles or chopped nuts before it sets.
Truffle coating
- Chill your truffle centers until firm, not rock hard.
- Dip in tempered chocolate, tap off excess, then set.
- If you want that classic look, roll in cocoa powder after the coating sets.
Storage tips
- Let chocolate set at room temperature whenever possible. Refrigeration can cause condensation, which leads to sugar bloom.
- Store in a cool, dry place (around 60°F to 70°F), away from sunlight and strong odors.
- If you must refrigerate (hello, summer), store airtight and let it come back to room temperature in the container before opening to avoid condensation.
FAQ
Can I temper chocolate in the microwave?
Yes, but it takes patience. Use a microwave-safe bowl and heat in 10 to 15 second bursts, stirring thoroughly each time. You still need the same temperature targets and the same seeding step. The microwave is faster, but it is easier to overshoot.
Do I really need a thermometer?
If you want reliable results, yes. Tempering is temperature-specific, and guessing is how you end up remelting everything while muttering at your bowl. A basic digital thermometer is enough.
Why does my chocolate get white streaks after setting?
Usually bloom. Fat bloom comes from improper tempering or temperature swings. Sugar bloom comes from moisture and condensation. Both are safe to eat, but neither gives you that glossy finish.
How much chocolate should I temper at a time?
I like 12 to 16 ounces for most home projects. Too little chocolate cools too fast and is harder to keep in temper.
My best tip
Get your toppings, trays, and whatever you are dipping ready first. Once your chocolate is tempered, you have a sweet little window where it behaves beautifully. Set yourself up, then enjoy the magic.
If you make a batch of glossy bark or a tray of perfectly dipped strawberries, I hope you take a second to admire them before they disappear. That shine is you leveling up.